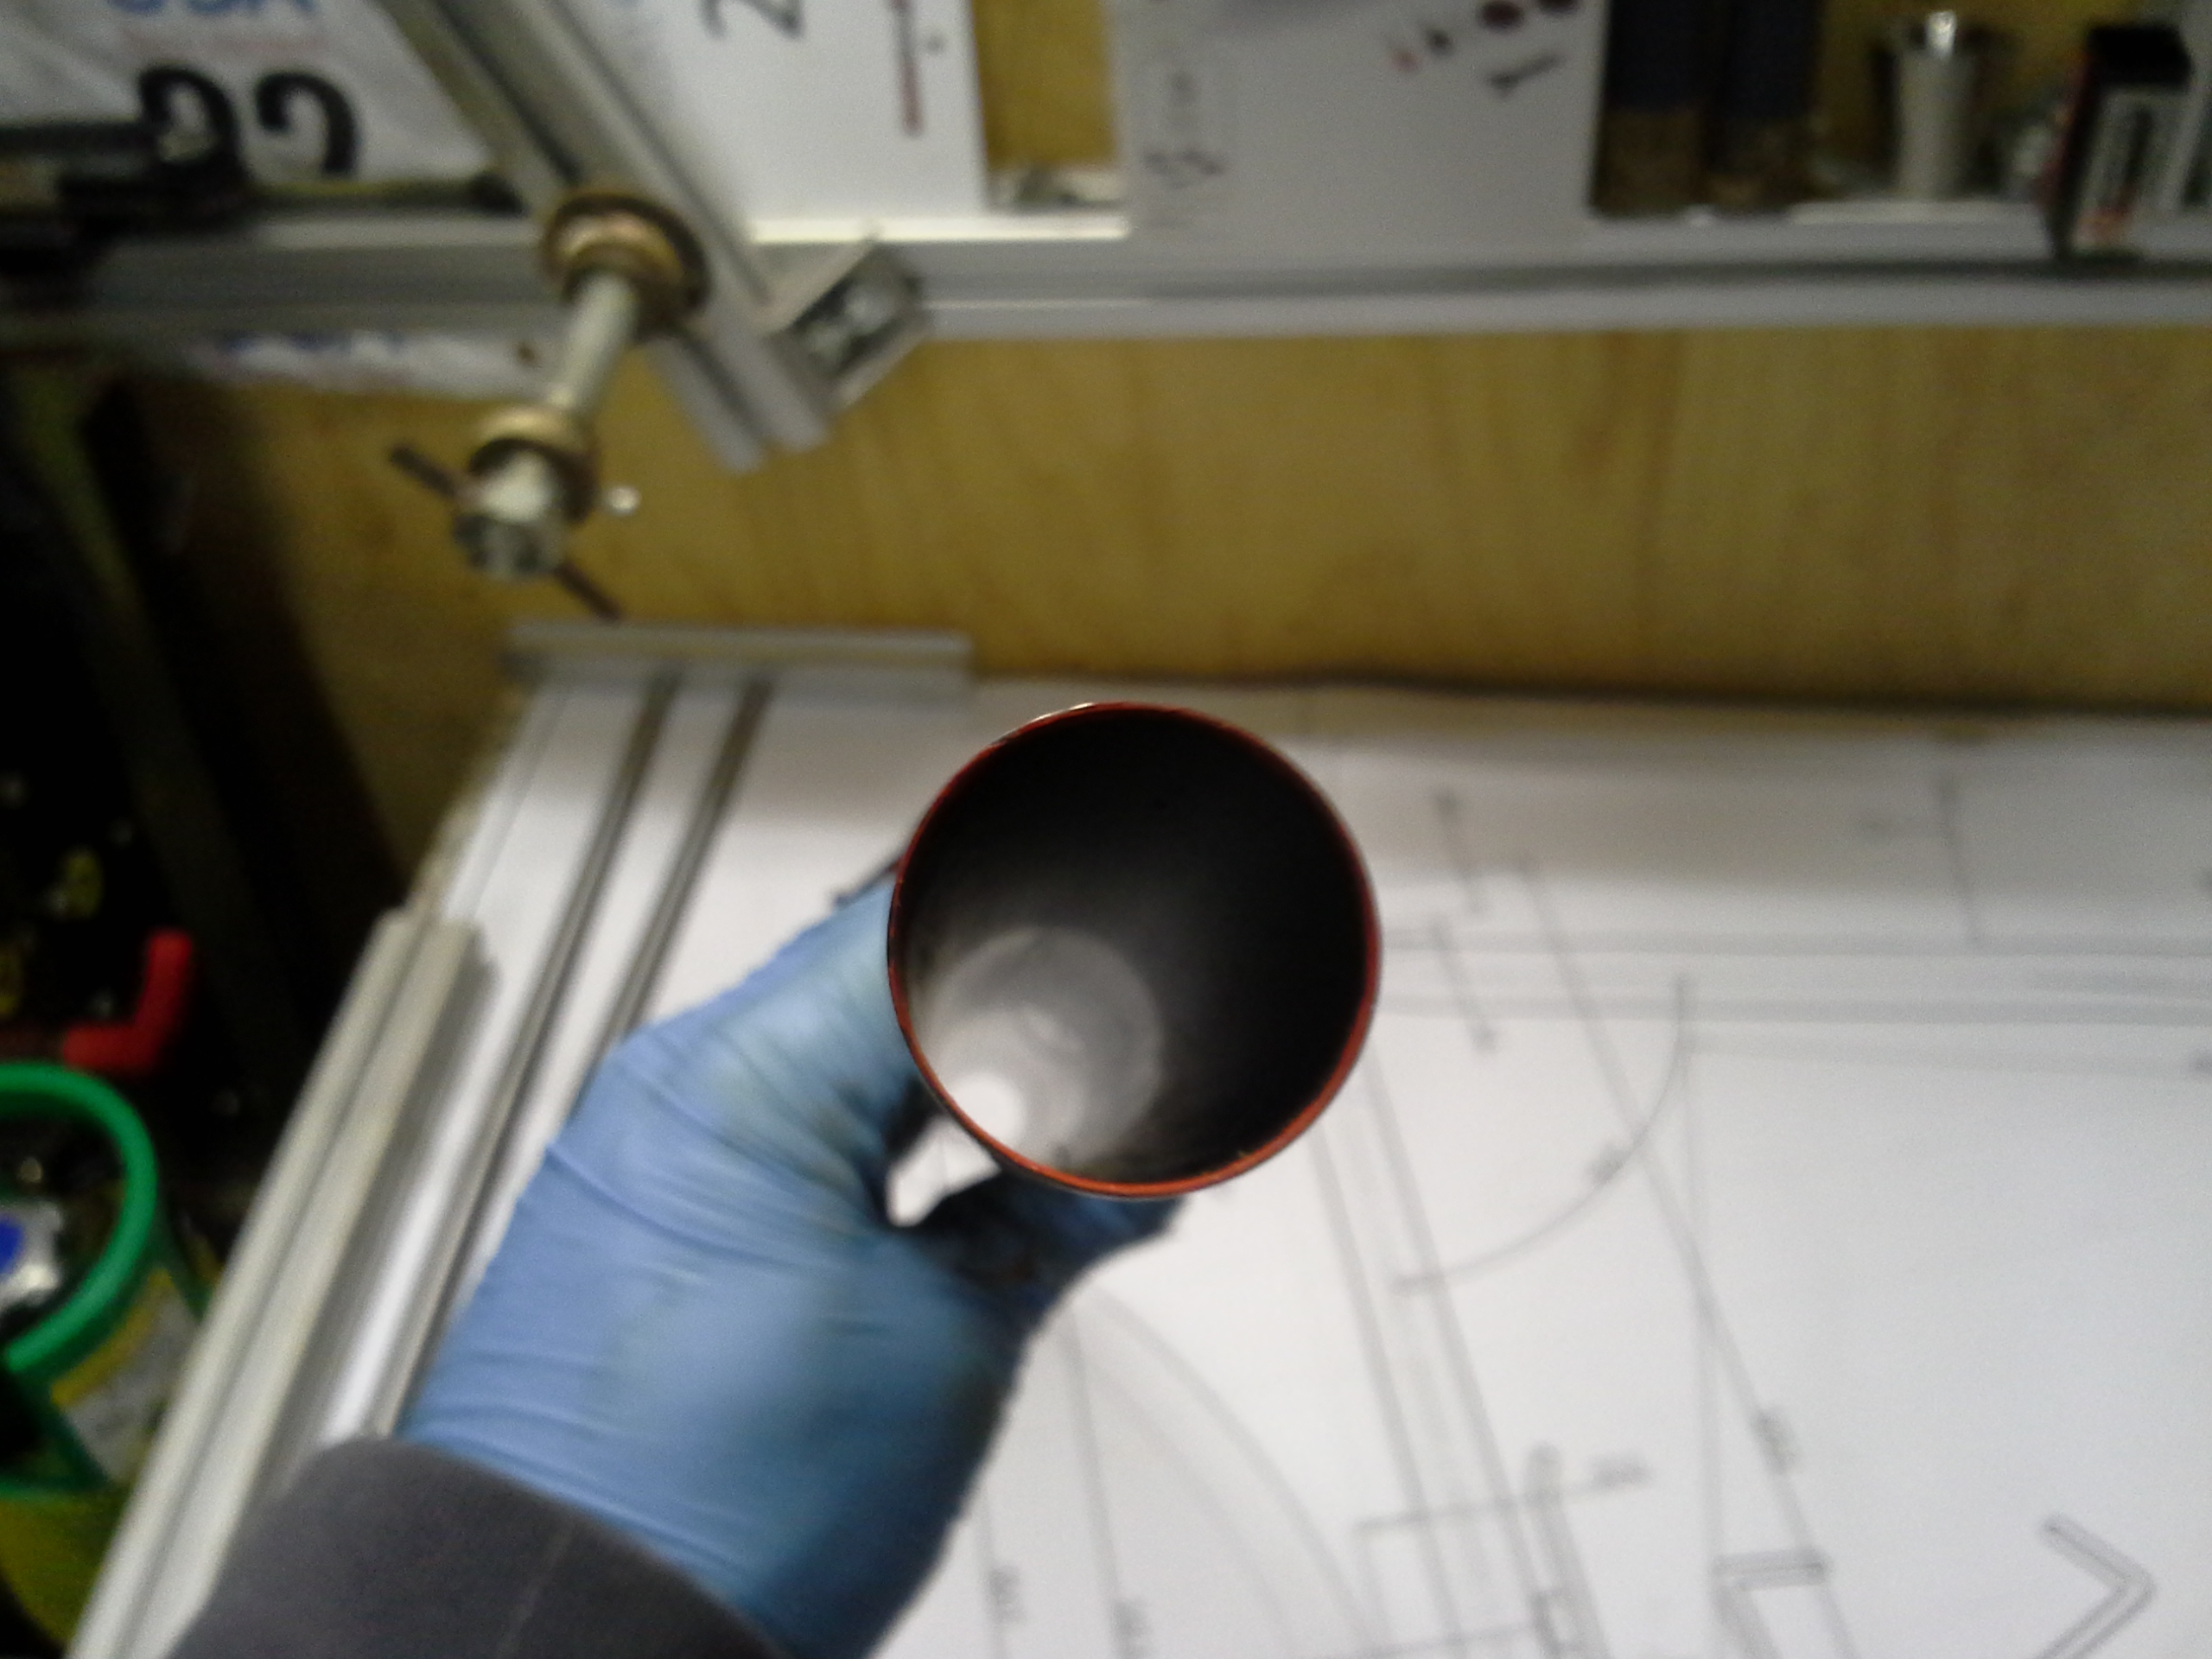
Right time to crack on with this build. Firstly time to check the butting to see where best to cut. I have left the seat tube butt relatively long so the frame can take some power and not flex laterally to much.
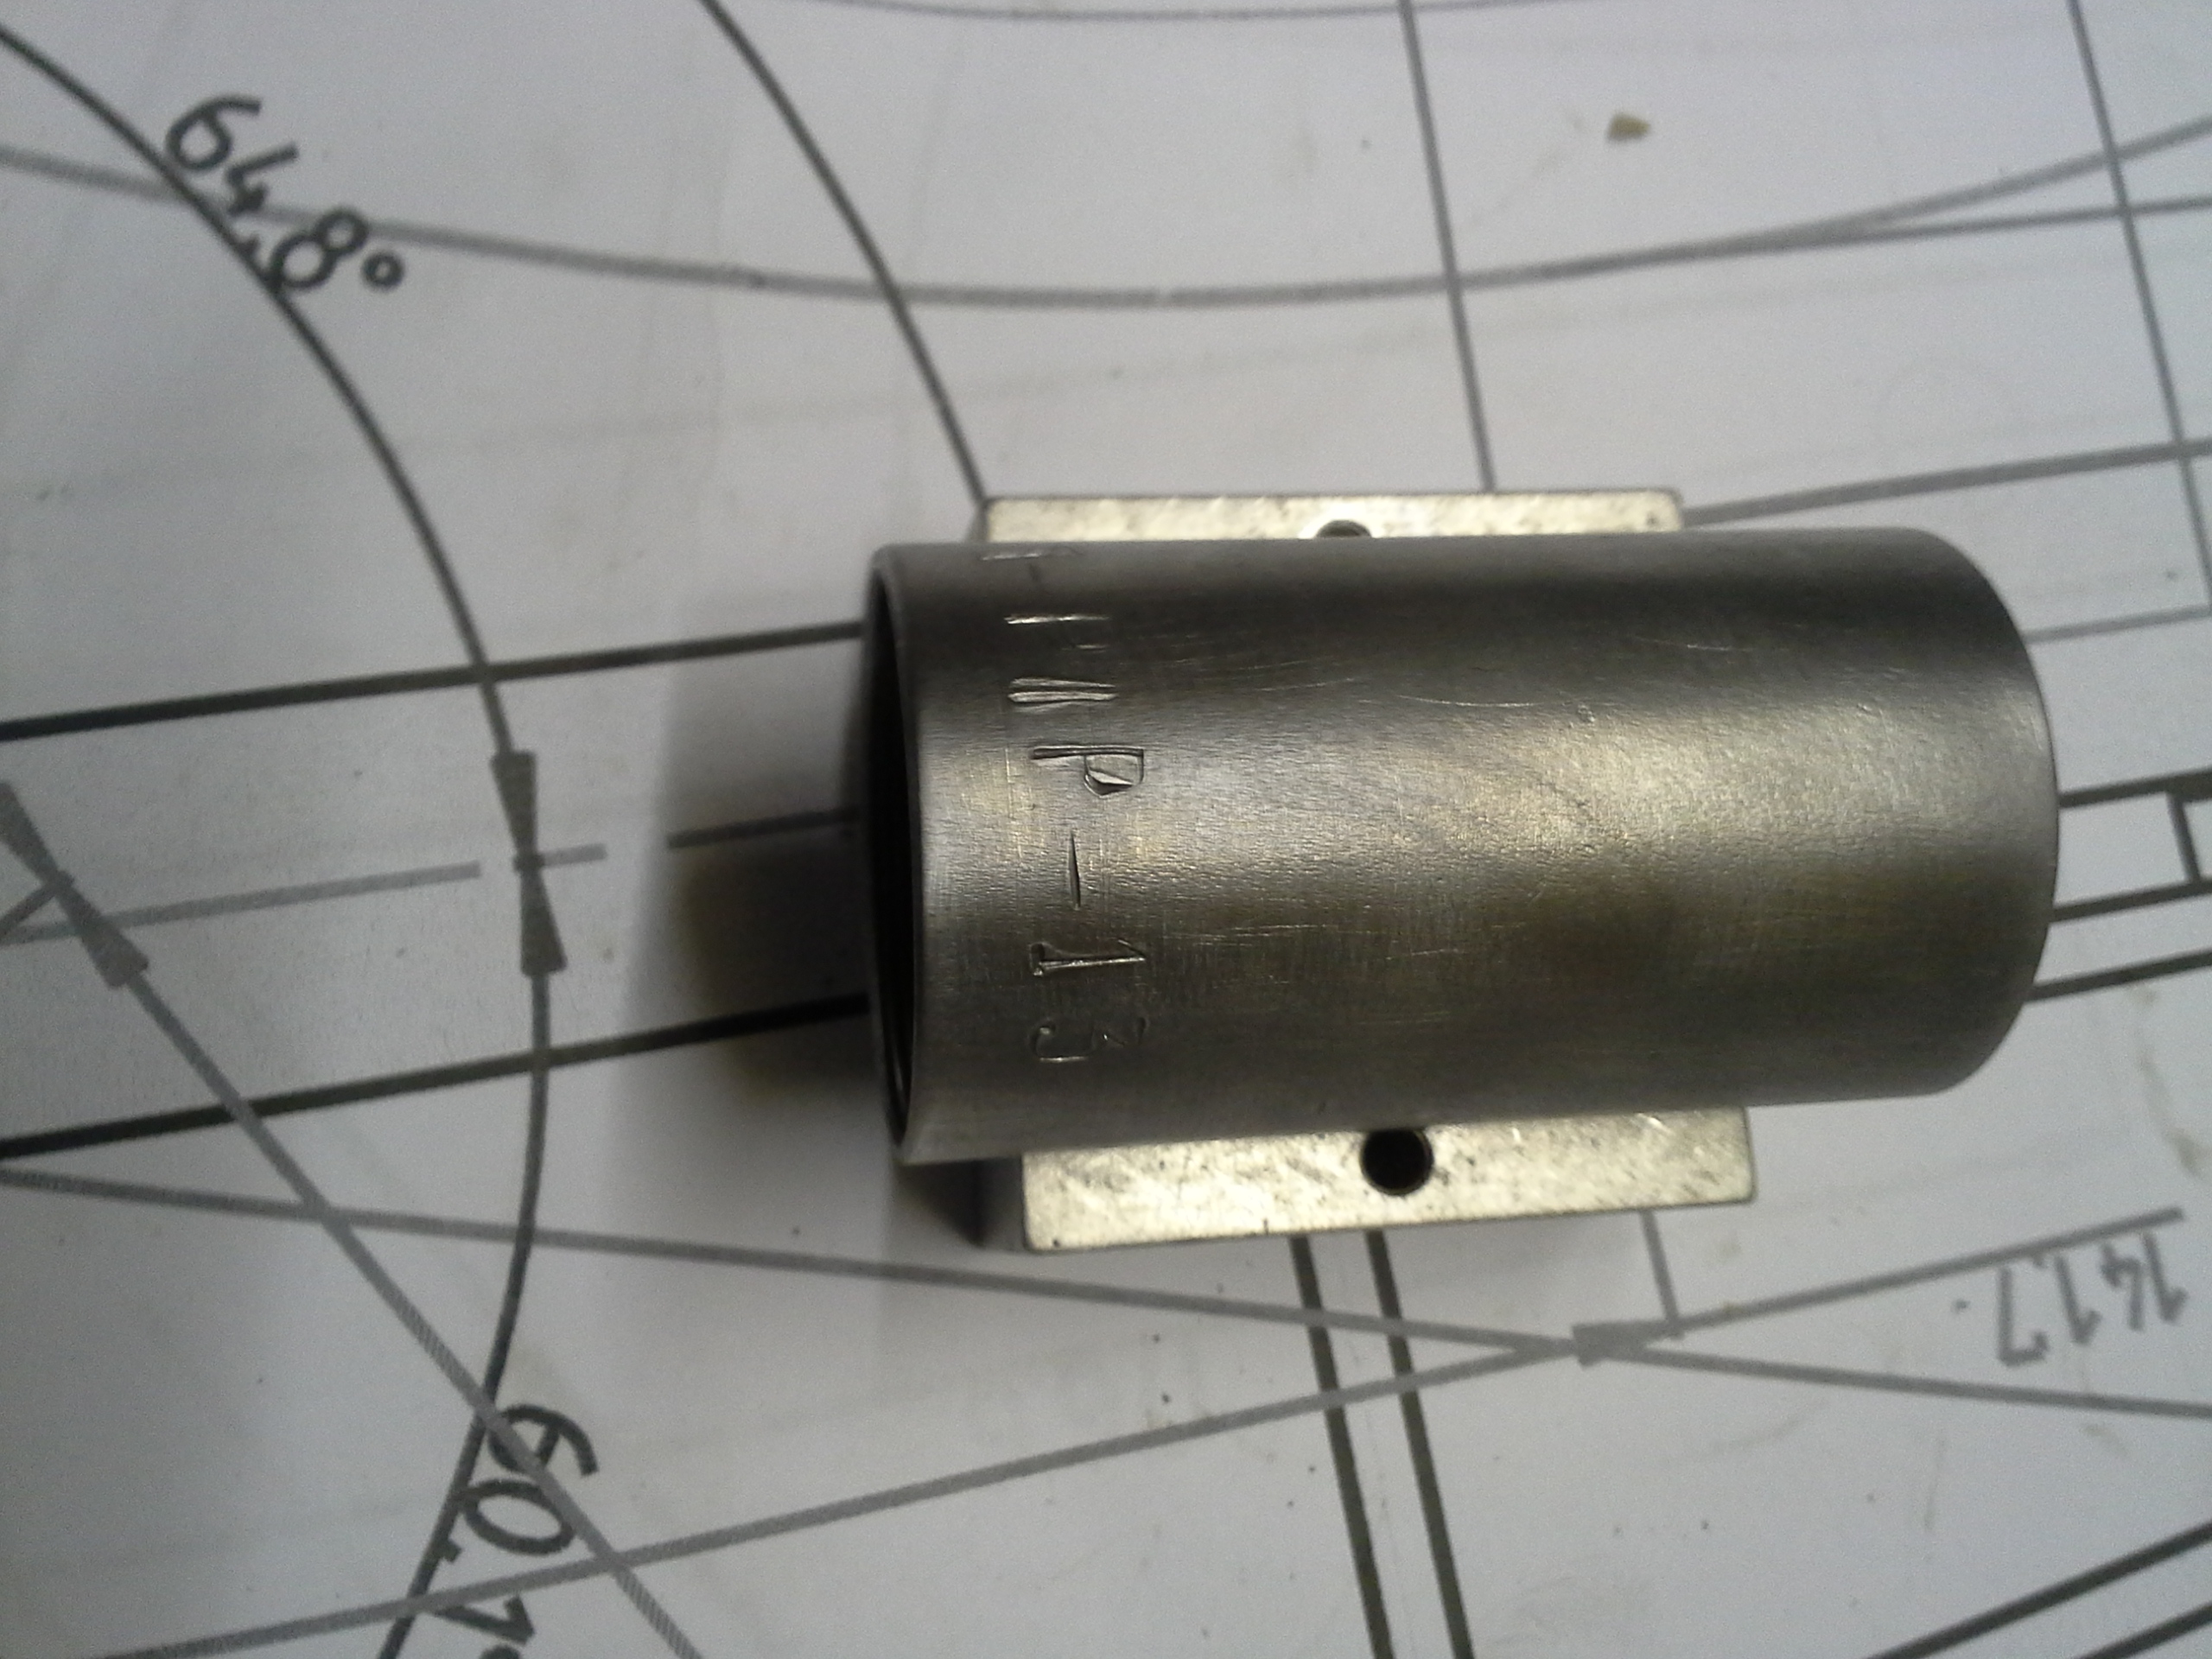
Then drill the bb for venting and removes a bit of weight. then to stamp the bottom bracket: 7-pip-13 (number 7 frame – customers name/initial – year:
then its time to make a notch cut:
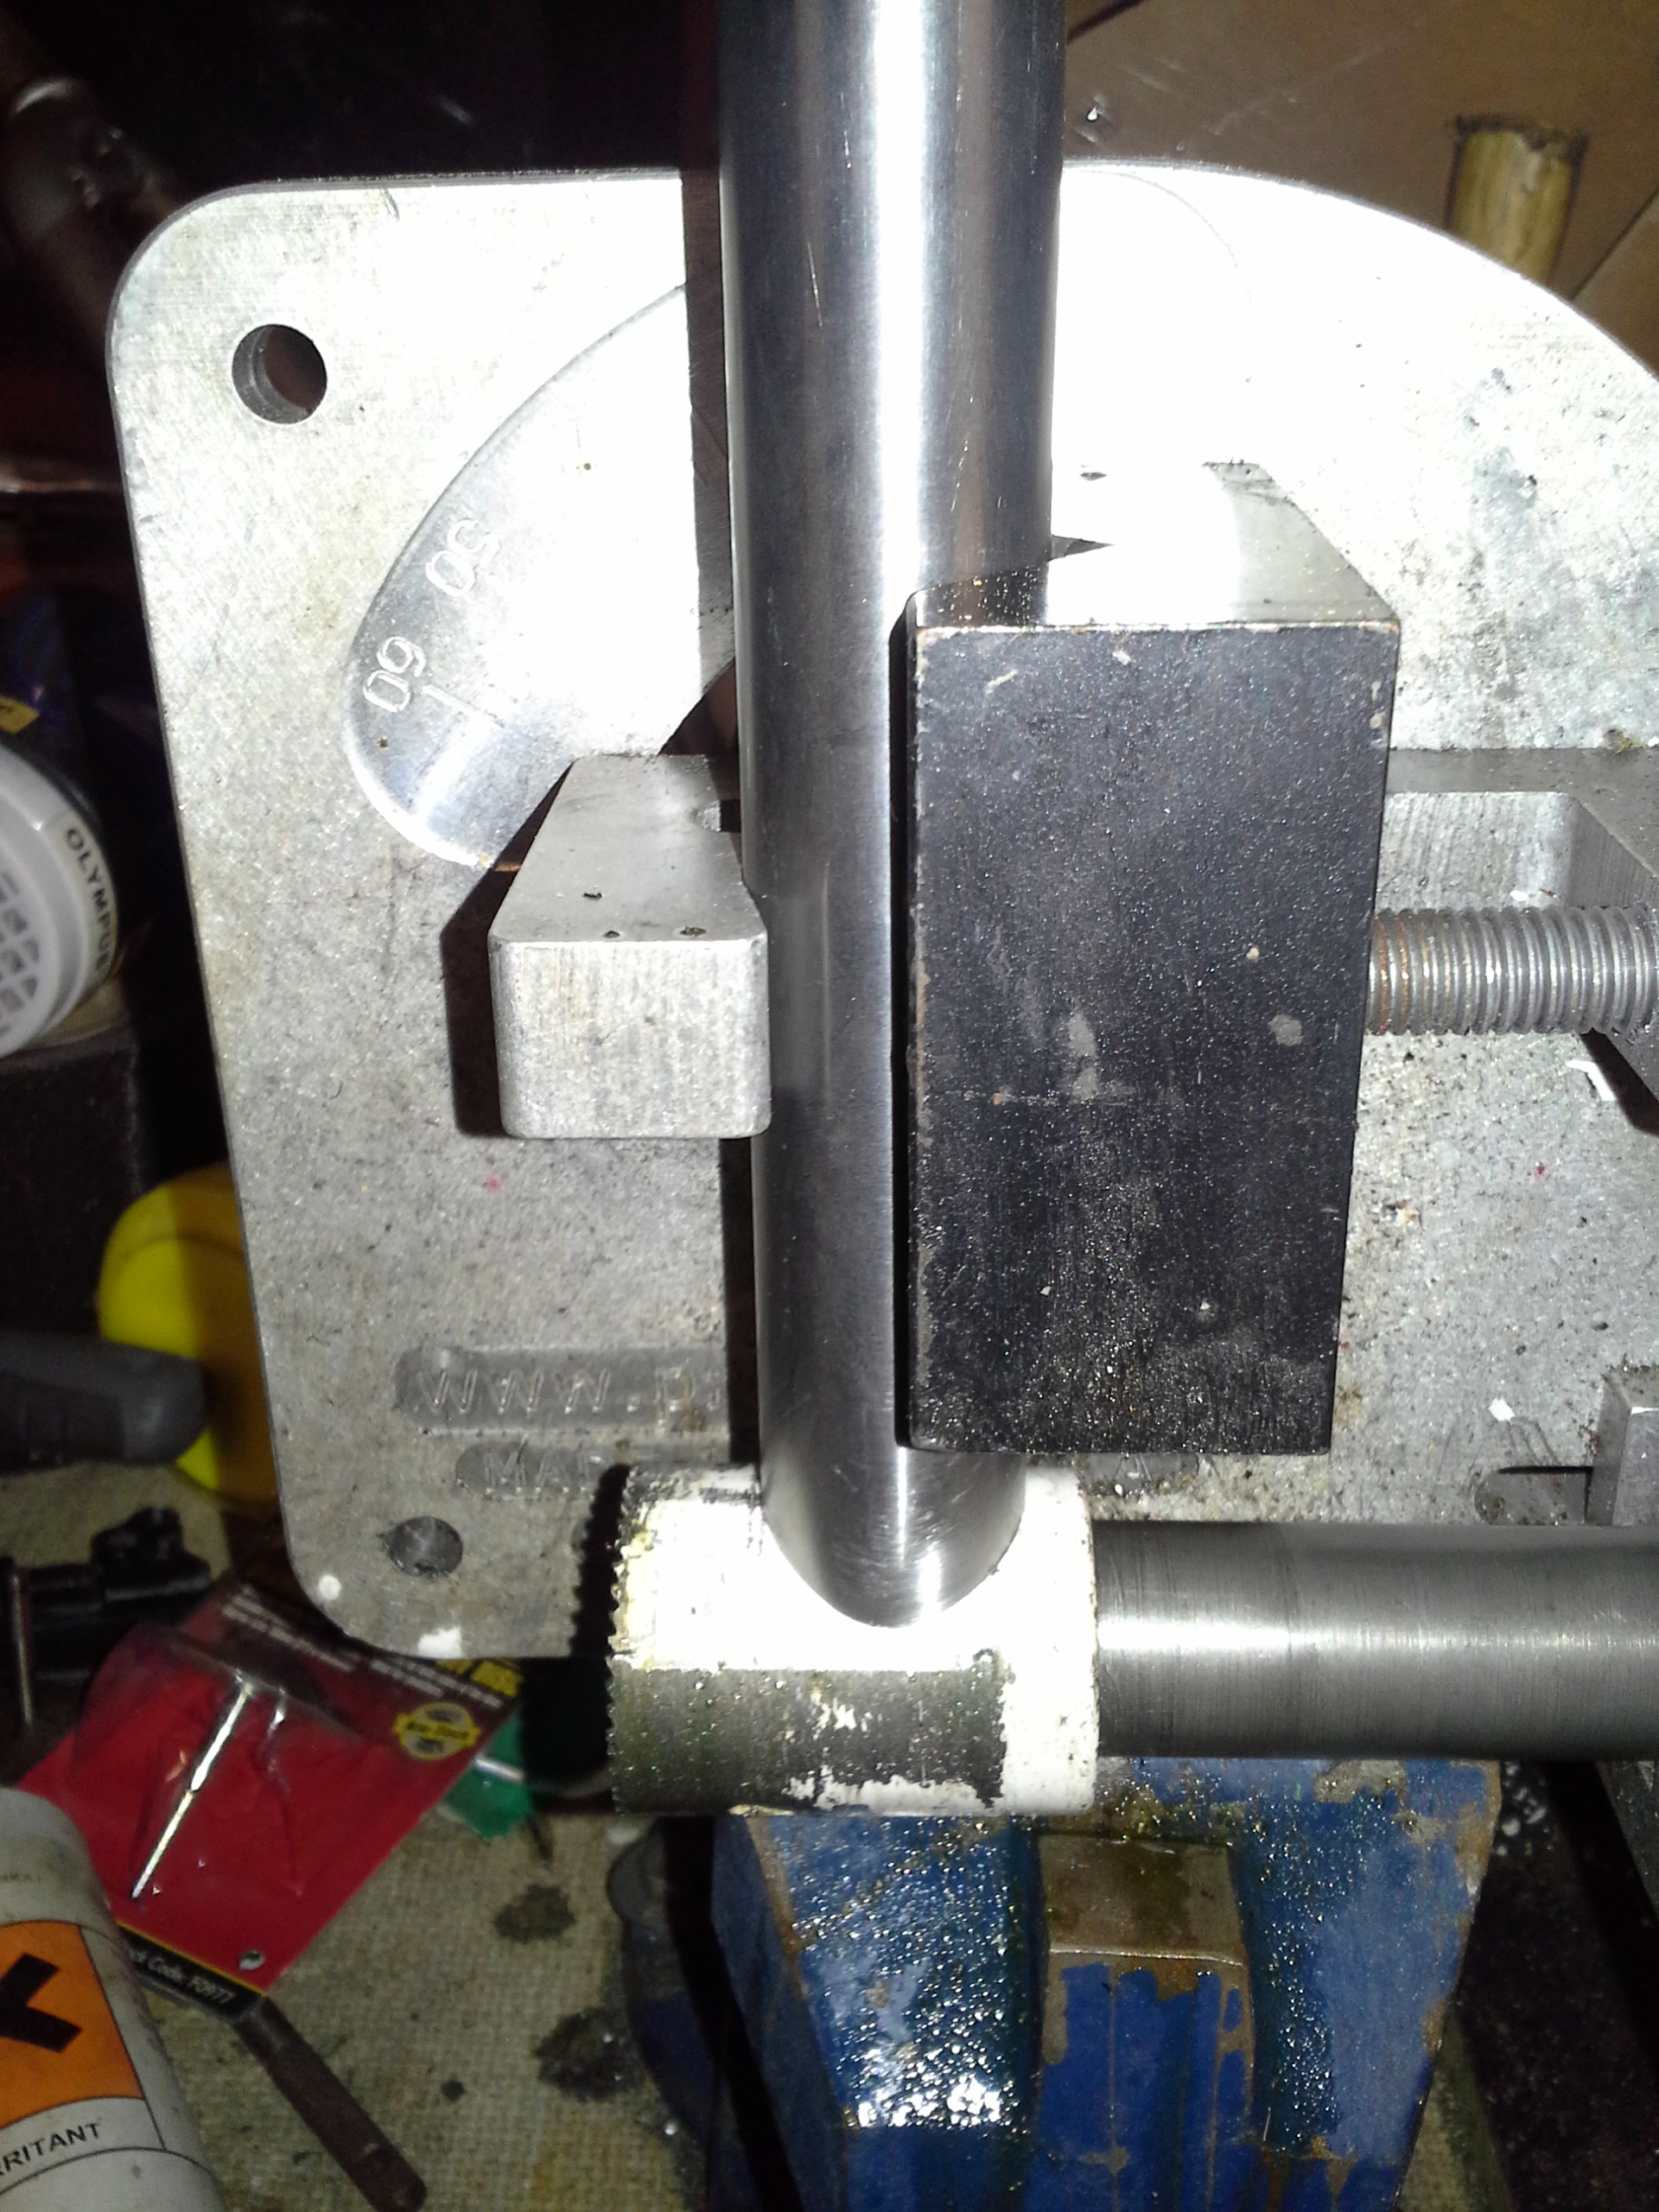
hand finish the joint. then check the angle is square:
![20131011_202034[1]](https://levybikes.com/wp-content/uploads/2013/10/20131011_2020341.jpg)
check the set up:
![20131011_205800[1]](https://levybikes.com/wp-content/uploads/2013/10/20131011_2058001.jpg)
Flux and weigh down before tacking:
![20131011_210357[1]](https://levybikes.com/wp-content/uploads/2013/10/20131011_2103571.jpg)
Check the angle then wet in the joint then pit down a small fillet.
![20131011_213309[1]](https://levybikes.com/wp-content/uploads/2013/10/20131011_2133091.jpg)
Then clean up with boiling water and wire brush to re check the join and that its square:

I love using good quality tube sets like Columbus spirit in the this case or Reynolds 853 and clean up is easy and there is no rust flashing. back to the bench to make sure it 100% straight. While I have the tour torch out i though i would fit a small eyelet to the brake bridge on the rear of the bike so we wont need any ugly mudguard mounts. tidy.


Leave a comment