Search

Levy Bike Works

Fanatically hand made steel bikes, components and tools

Gravel / Trail bike

Sorry it’s been a bit quite I have been busy with the day job. So this is version 2 of the drop bar 29er. This will run 29er and 700c disc for gravel or trail/xc work.  Dropper post and flat bars set up right now. Tubes are 635 and columbus market 666. Fillet brazed with Sif 101. levybikesv2

Straight forks are Surly and is a 100mm front Qrt and rear 135qrt so no issues with road or mtb wheels. XT and SLX to finish it orr. I may try and put a short colour matched stme later. Colours are “Klein Flare” which is  Yellow Red Pink with colours from Specialised paints, Cheers.

Custom road frame for Tony

Tony found that his specialized road bike was the right length and geometry but the seat-tube was so short I made for a really long mtb seat pin. So to fit his long legs I made a columbus spirit frame with a 57.7 top tube and 58.5 seat tube. Finished is deep metallic blue and a 3t funda carbon fork. the frame is only 240g heavier than the carbon one. I got it there just in time for his 40th birthday, so here’s to being fitter at forty!

levybikes anthony

Full Suspension forward geo

Wanted to try this “forward geometry” thing. I have ridden a few bikes with it and found it good on the DH but hard on getting the front wheel up into a manual especially with big wheels. So i have a old 26″ rear swing arm and the will to give it a try. So i have gone for a twin link system like a Iron horse or Giant. With a a little more progression. Mounted on a Reynolds/ Columbus front end with stainless steel tubes and mounts. Geo is 625mm top tube. 74degree seat angle and 66 degree head angle. 150mm travel front and rear. 44mm had tube for a tapered headset.

Getting the shock mounts square and to the MM was a pain. But lots learnt and looks good. I have obviously been looking at the yeti SB66 as i have gone for the same colour. Paint from Specialist paints.

levyfs

Parts from my brothers haro and the parts bin. Rides real well.

Roberts rebuild

Nick from Retro bike had this lovely Roberts white spider but it had a dent in the downtube that made it un-ridable and not economical to rebuild. So he sent it to me. I cut the Down tube out but found it hard to get out of the Bottom bracket. I later found a small tig tack. Not sure if that is Chas Roberts method or a previous repair. Anyways a new tube and some capillary brazing of the bottom bracket and a big fillet in the head tube and its back and straight.

Headtube was  bit flared so i added some brass there too. Then on to paint. I got some great hot rod paint from Specialist paints in Candy Pearl green.

p5pb14873139

Job done. Nicks very happy and it all cost £150. not bad.

Fast road bike final build

Right its brazed, reamed painted and tapped. time for a full build. Gears from shimano Ultegra, brakes from planet-x (CNC). Ritchey stem and seat post. hope hubs and remerex rims (24/28hole).Saddle is a  selle SLR. Old mavic pedals. All in 8.1kg which is 400grams lighter than my cervelo s1 with 105 on, So i am pretty pleased. Off for a ride tomorrow.

p5pb13260787

Fast road frame part 6 paint

Right the frame is straight and finished. now time for paint. My thoughts as a sketch:

20160305_134310

so first i set up the shed for spraying. Patio heaters on full blast are only getting the temp to 16 Degrees. So I opt for a 2k primer which sets chemically so is less sensitive to the normally 20 degree heat required. 20160304_185035.jpg

Next is the white.

20160305_105211.jpg

Then masking and a light blue and then a dark blue metallic.

20160305_190111

Then we need decals and a top coat. Also a 2k but this one is in cans and my compressor decided to pack up. The end result:

frame 2.jpg


Fast road frame part 5

Right next is the braze-on’s, 55% or 45% sliver for most of the work, its works at low temperature and flows nicely. I am using the lovely Llewellyn limpet braze-on’s across the frame. You can use spokes or tig wire to hold them in place while you solder them in. Silver flux come off easy with a hot water and a brush. then i drill the seat clamp and cut out the slot and file. Next is clean up.
finishing.jpg
Next is to real the seat post, i use a fixed 27.2 ream and then chase it out with an adjustable ream until the post glides in and out
seat ream
Need to ream the bottle mounts
1bottle ream
Need to ream the bottom bracket and face it.
bb ream
Need to check the alignment, a quick tweak and we are good.
rear align
Final check against the drawing. it straight down the center line.Top tube is to 1mm, head tube is spot on, seat tube is to 1mm, bb is spot on , drop out height against the bb (bb drop) is 3-4 mm higher than i wanted. mmm not sure why i did not spot that. But a quick estimate shows that the simple take the head angle from 73 to 72.75 degree. which i can live with. but from a jig-less build that not bad.
Final frame layout.jpg
Next time is fine finishing and primer paint.

Fast road frame part 4

So I have a front triangle and some chains stays with dropout already on. So it’s time to put the two sub assembly’s together. You can just use a dummy axle and for tig welding that’s normally fine but with a lug with a lot of heat in its going to move around a bit. So i prefer a old wheel that straight a some plates clamped down. this means you can hold it straight in all plains why you braze.

chainstays

Next i need to file the offset miters of the seat stays these are over sized 17mm Columbus spirit ones to match the rest of the frame. I had adjusted the dimension in the frame design tool (rattle cad) and it gives you a nice PDF of the miter profile you can print and use a template.

rear stay

Then using a old tig rod to hold the stays in place you can braze them to the seat tube so they are tidy around the clamp and top tube. Looks messy due to the flux but shoudl be nice on clean up.

rear stays

Back to the drawing to make sure we are still in shape.

framefinal

Next time brazons, clean up and paint time.

Fast road frame part 3

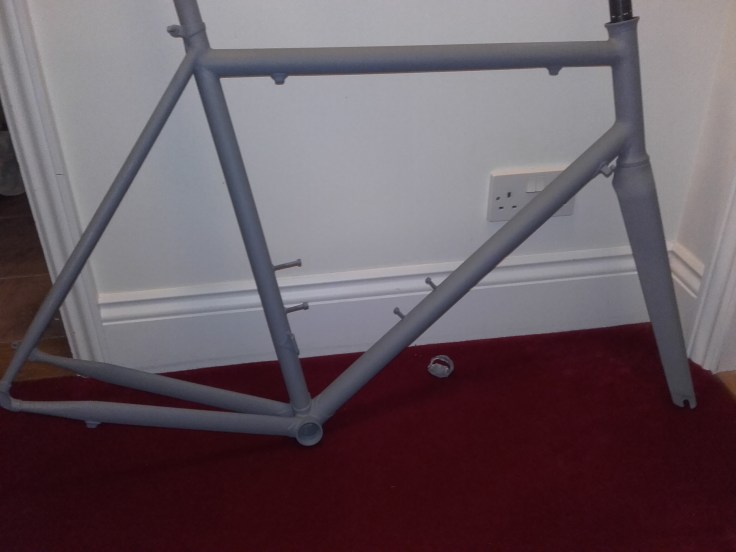
So in the new plan I am going with a oversize lightweight bottom bracket lug. So I have assembled and done some checks. With a very minor tweak to the lug it fits perfect. So since i don’t have a jig i am going to braze the lug one joint at a time, which is a paint for clean up (have to do it each time) but means you can make sure of alignment without a jig or pins.
p5pb13108117
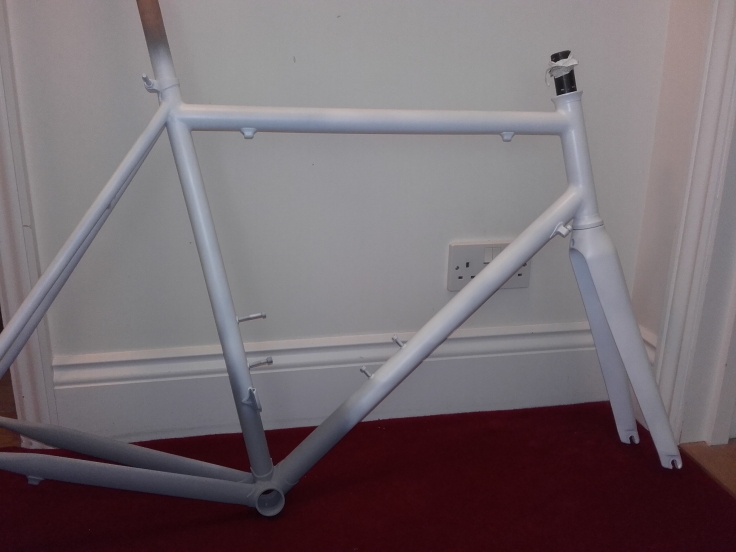
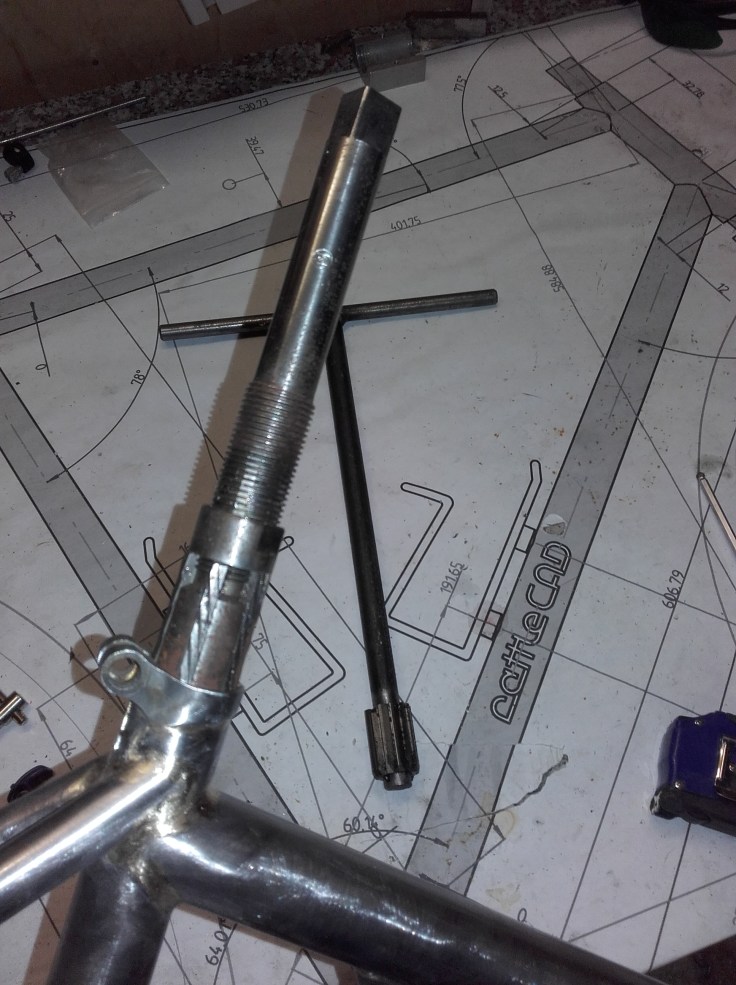
So next I ported and cleaned up all the slots for the tubes. they need to be shiny and clean and big enough of the braze to move through. I will tack the seat tube in the bottom bracket lug, check its straight then braze it in.
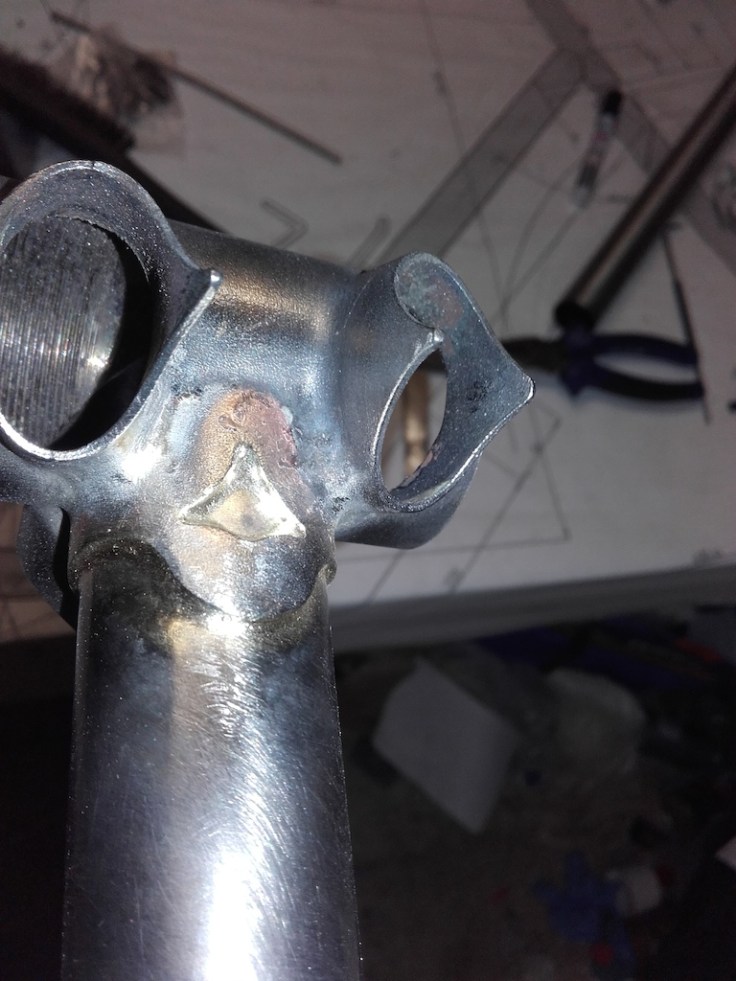
I need to the get the braze all the way through the lug. So we need more heat that mean changing the number on tip of the torch to a no 5 or 6 and setting the flame to a roaring (but not hissing flame)You can see that in the colour if you get the whole area cheery red then add the rod you can see the colour change as the braze moves through the joint following the heat. you need to get it through to the inside. after you need to check the inside of the joints. Because I am using a lot of heat i need to check the braze alloy has not split.
p5pb13108115
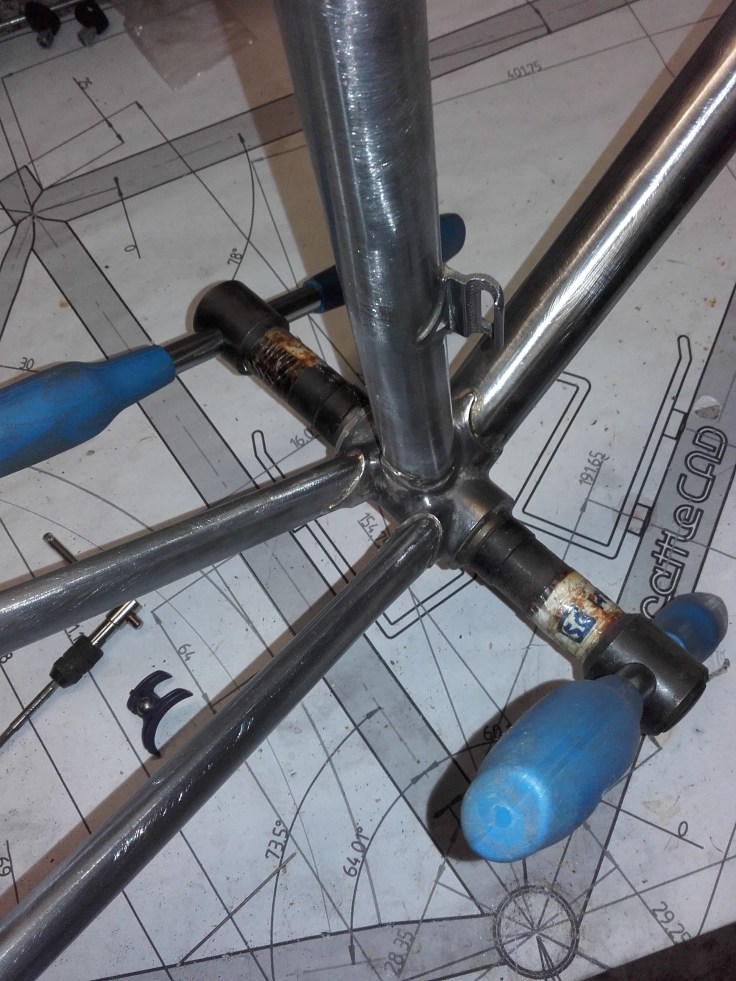
you can see this is the copper colour is in the braze. There is some splitting on the outside of the lug but that fine. all good.
p5pb13108114
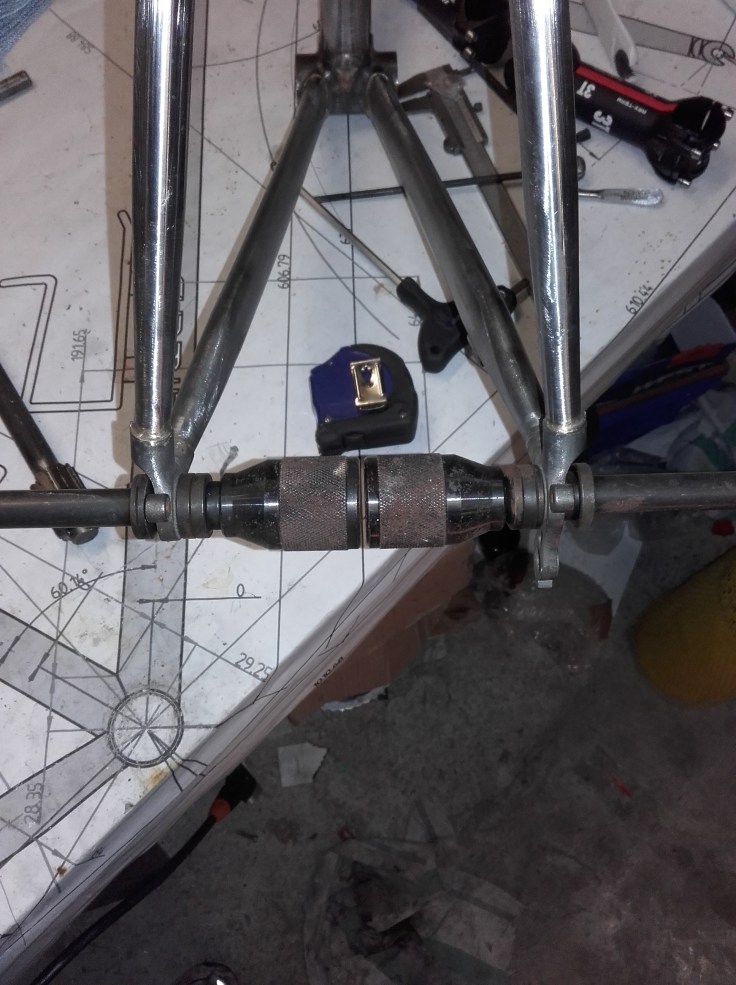
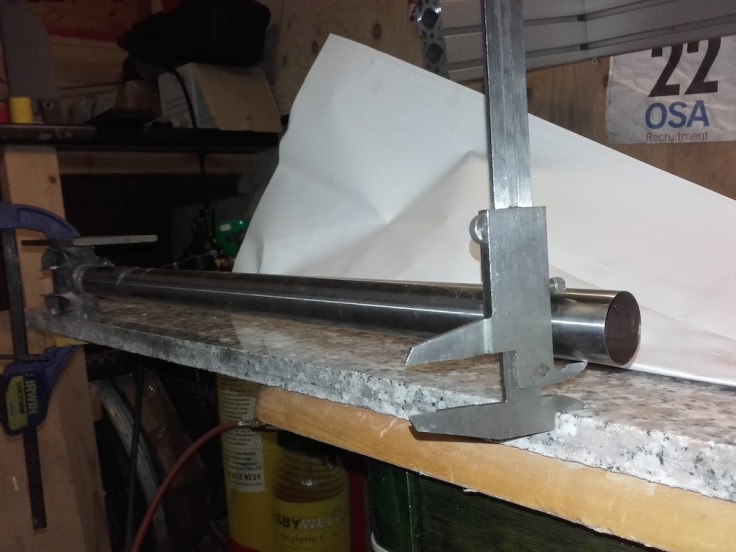
Then check its all straight. clamp the BB and measure the gap against the flat surface. it should be the same on both sides. I am 0.2mm out but that is better than I normally get so I am happy.
p5pb13108116
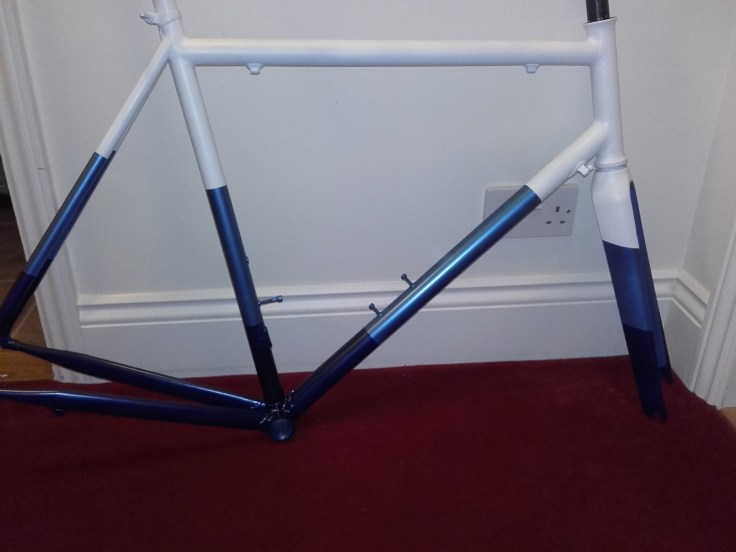
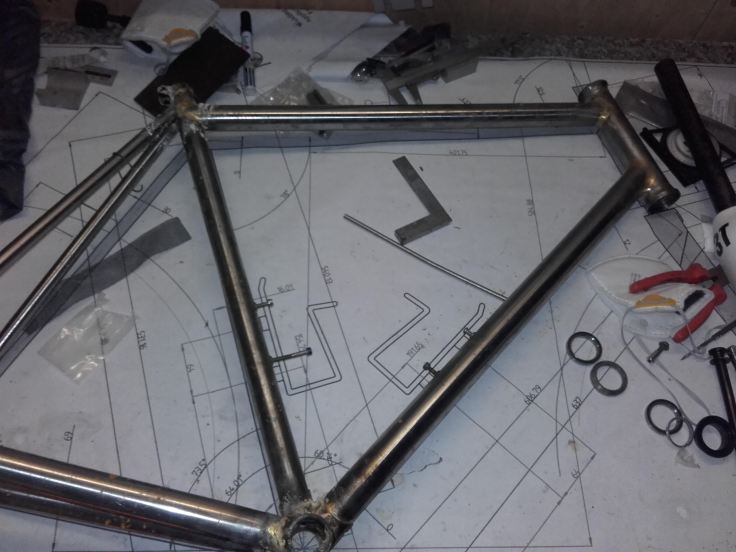
Next I align the front heat tube assembly with the seat tube and make sure its flat and the right angle and measure the seat tube the head tube. i then weight it and slide it off the table to braze it. this keeps it straight in the vertical plane of the frame and the head tube to seat tube measurement make sure we maintain the distance and angles. This method works for lugs and fillet and TIG welding.
p5pb13108113
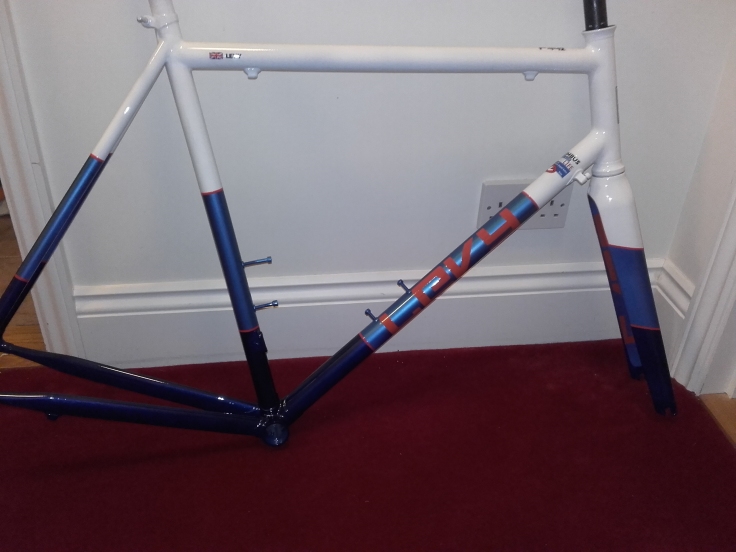
Tack it, check its braze it, check it. done.
p5pb13108187
I did the bottle bosses at the same time using 55% Silver as the tube is thin in the middle. Next time top tube and chain stays.

Blog at WordPress.com.

Up ↑