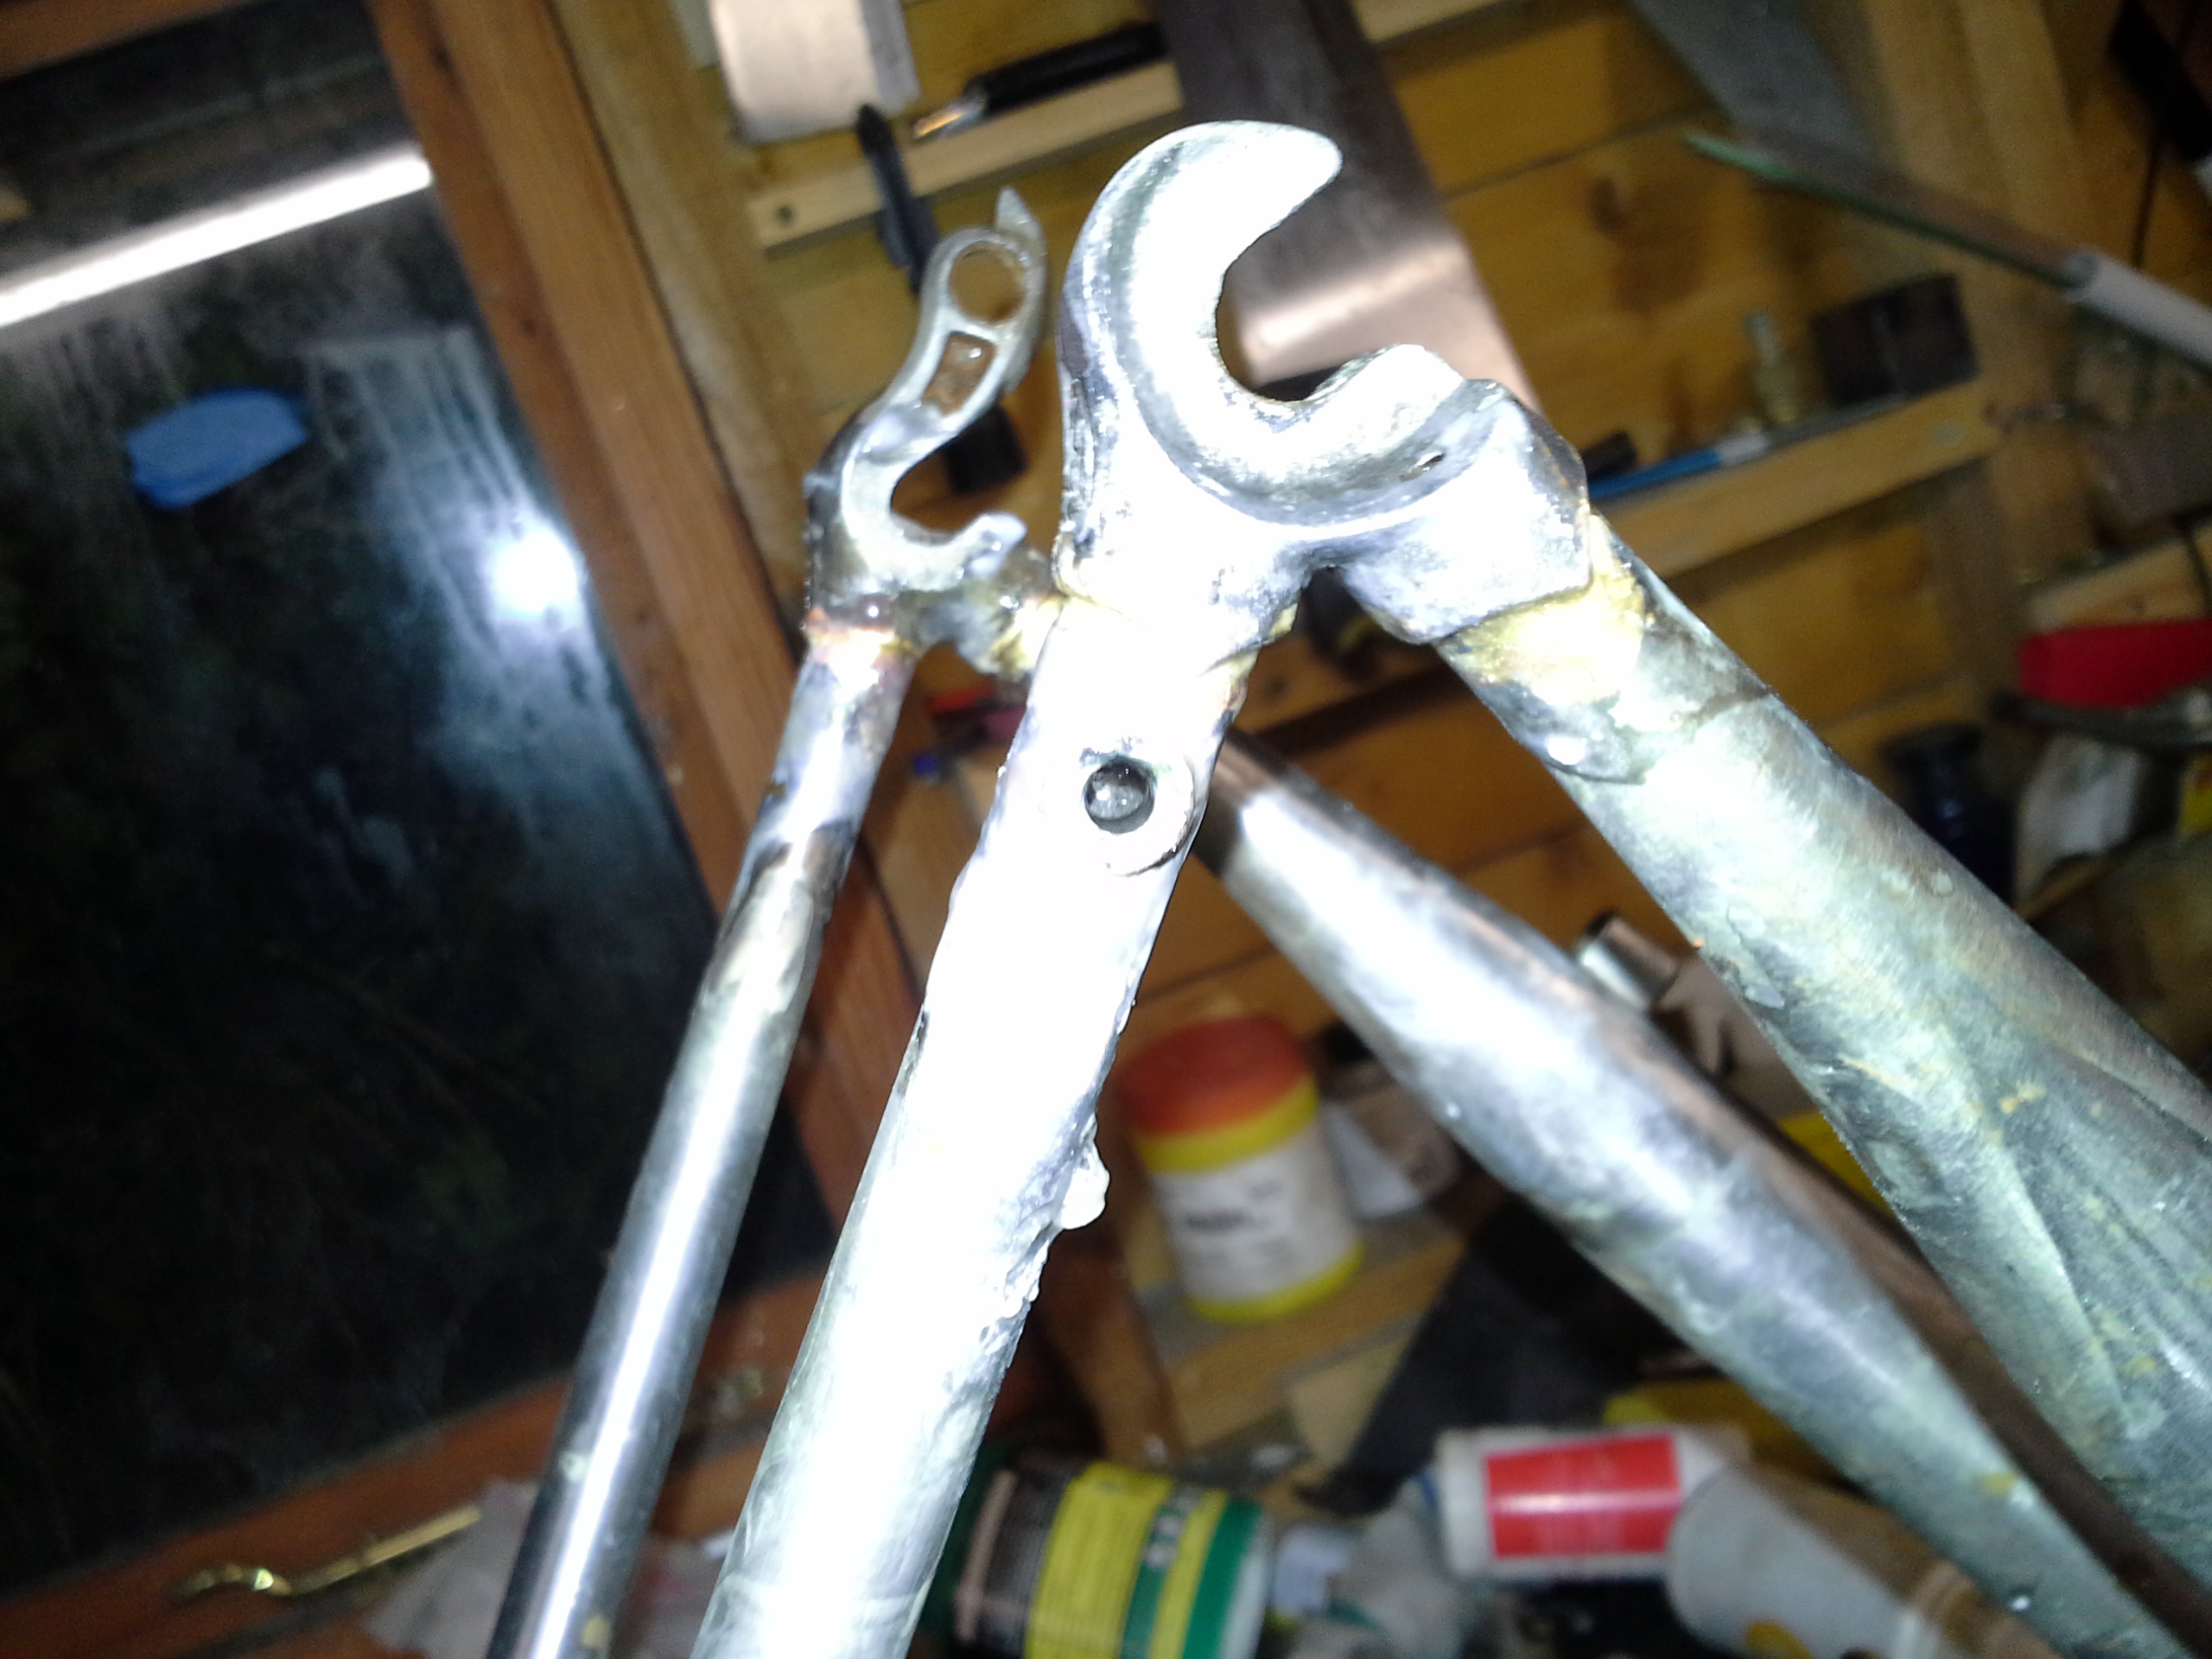
Right time to put the brake bridges in. Measuring from a frame with the correct brake height. Lots of filing and faffing to get this in. A quick check then braze it in.

The put the dummy wheel in to check. Great. It’s too low! Right start over. I decided to use a light weight bridge. Same all over again but a little higher. Small fillets just to fit the look of the frame.
pop a brake on to double check. I am trying to run it a little high up so there is room for the alloy mud guards. Job done.

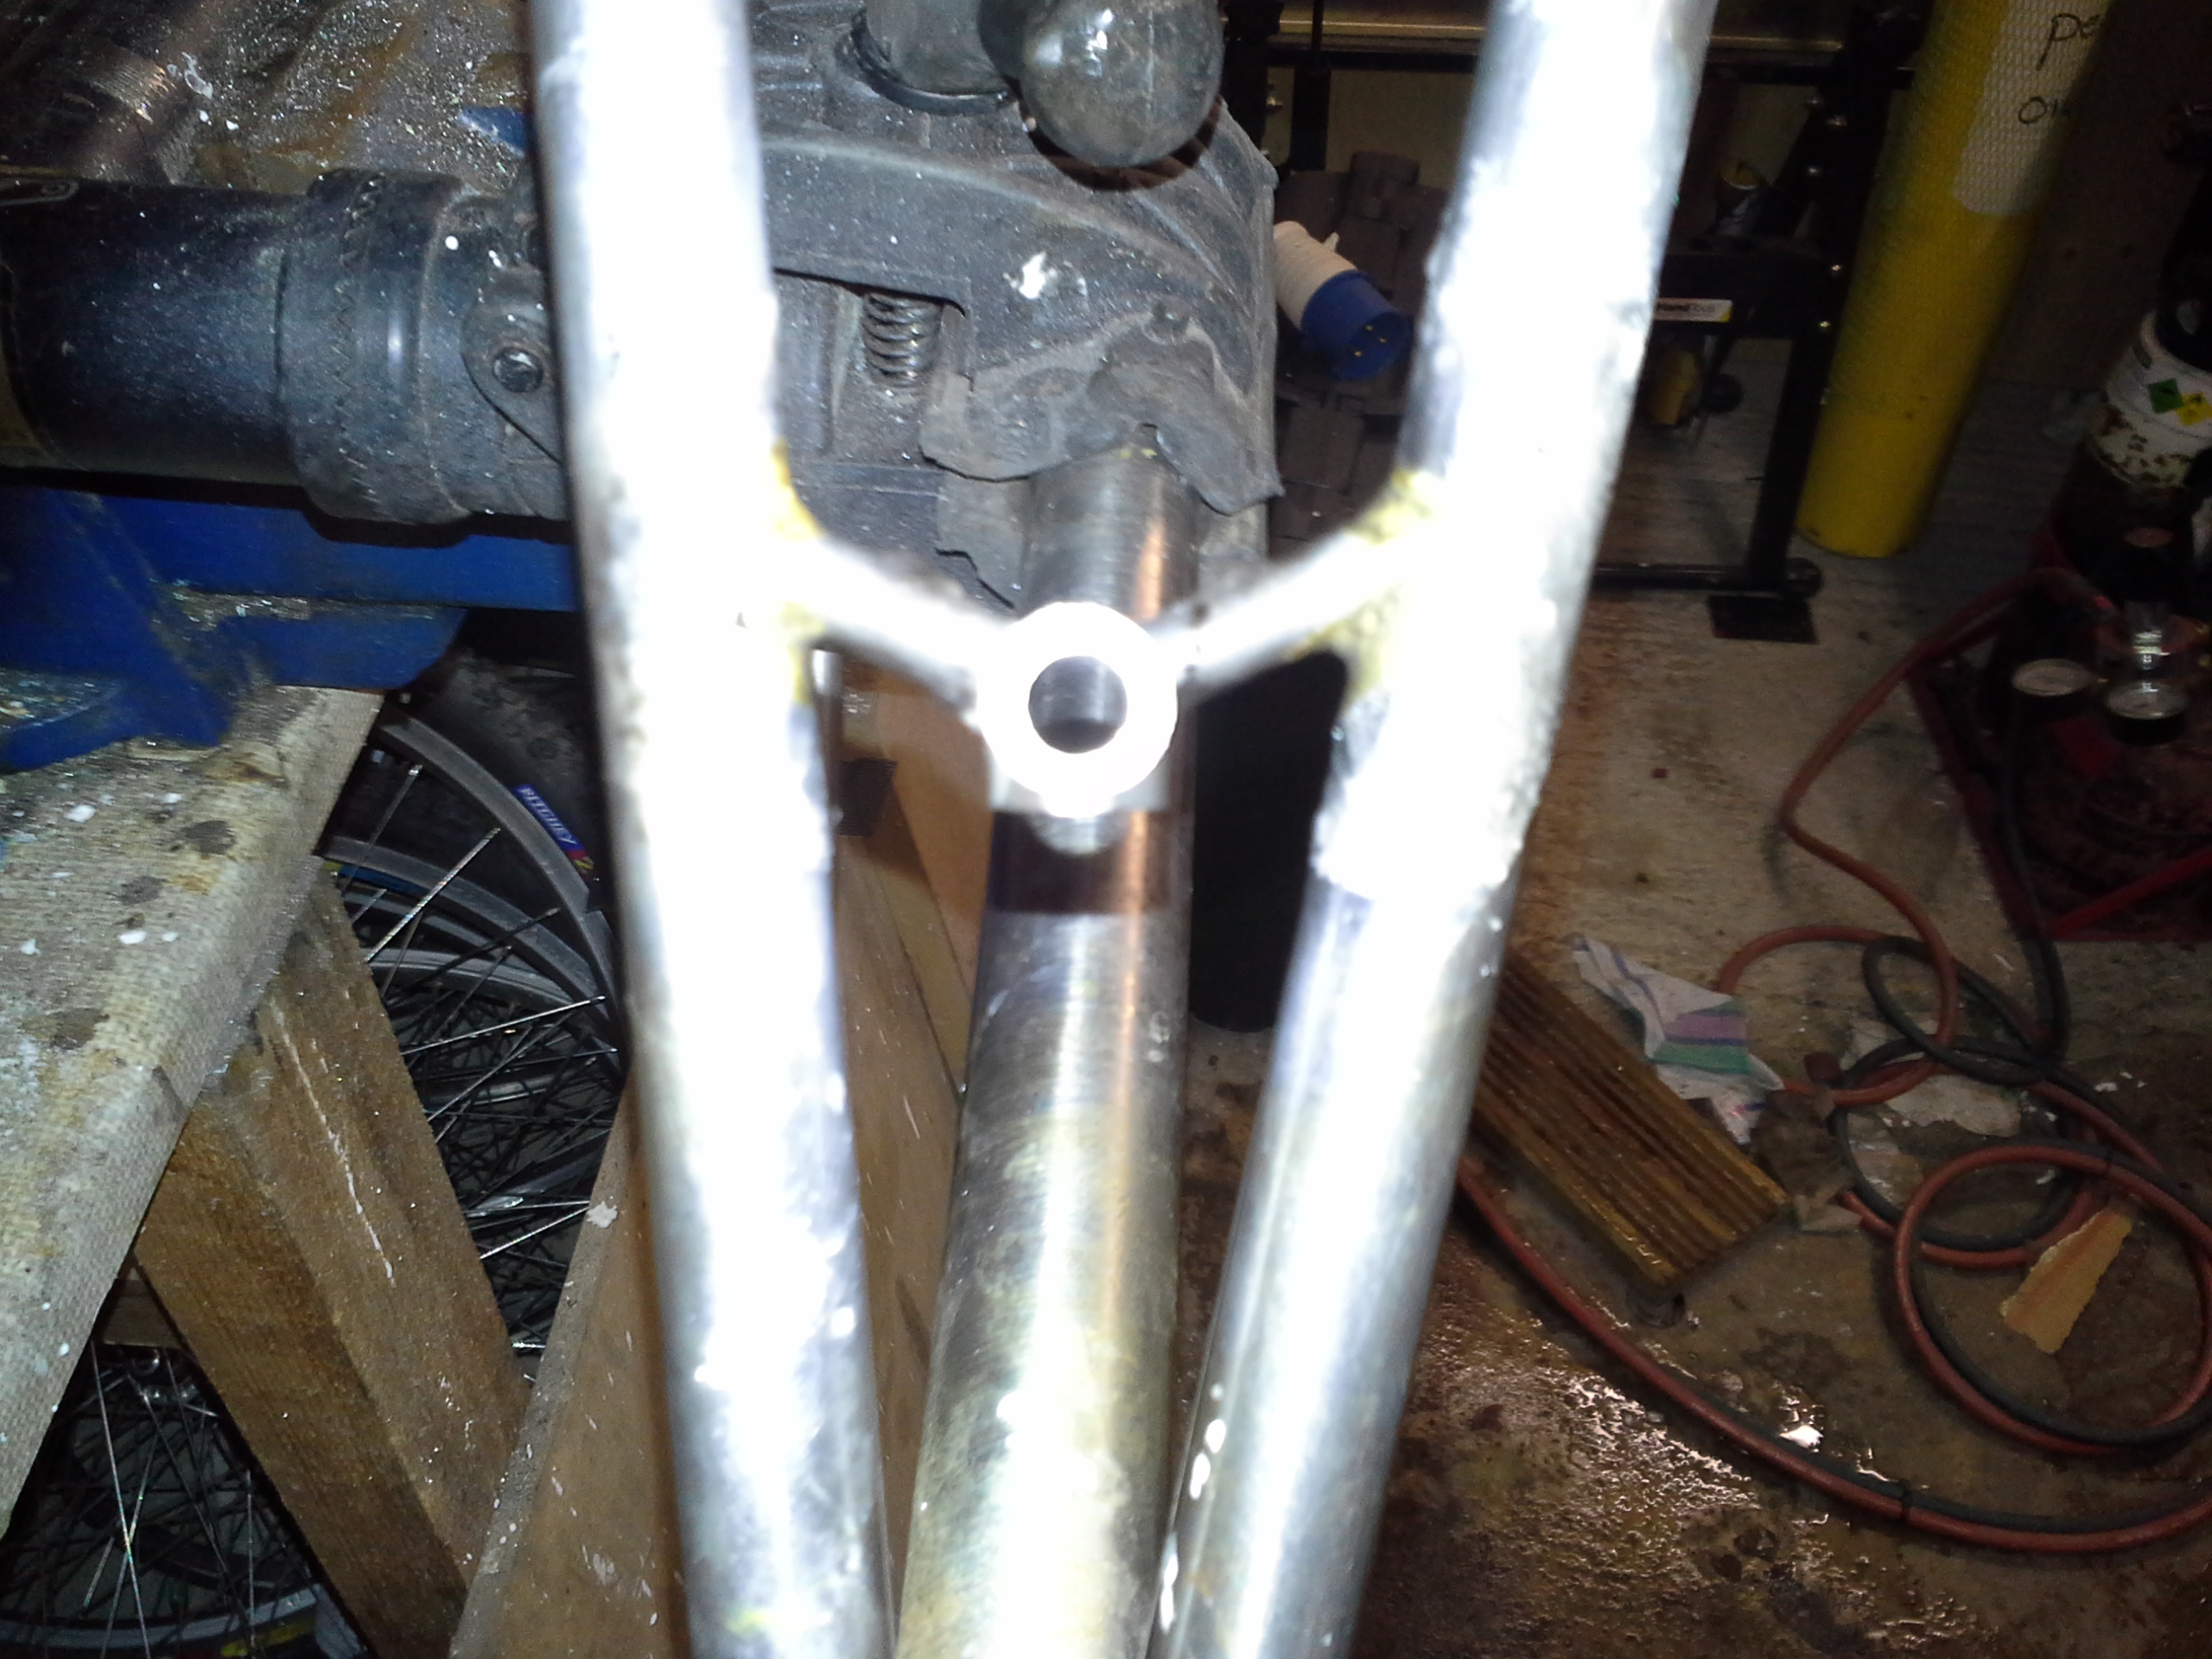
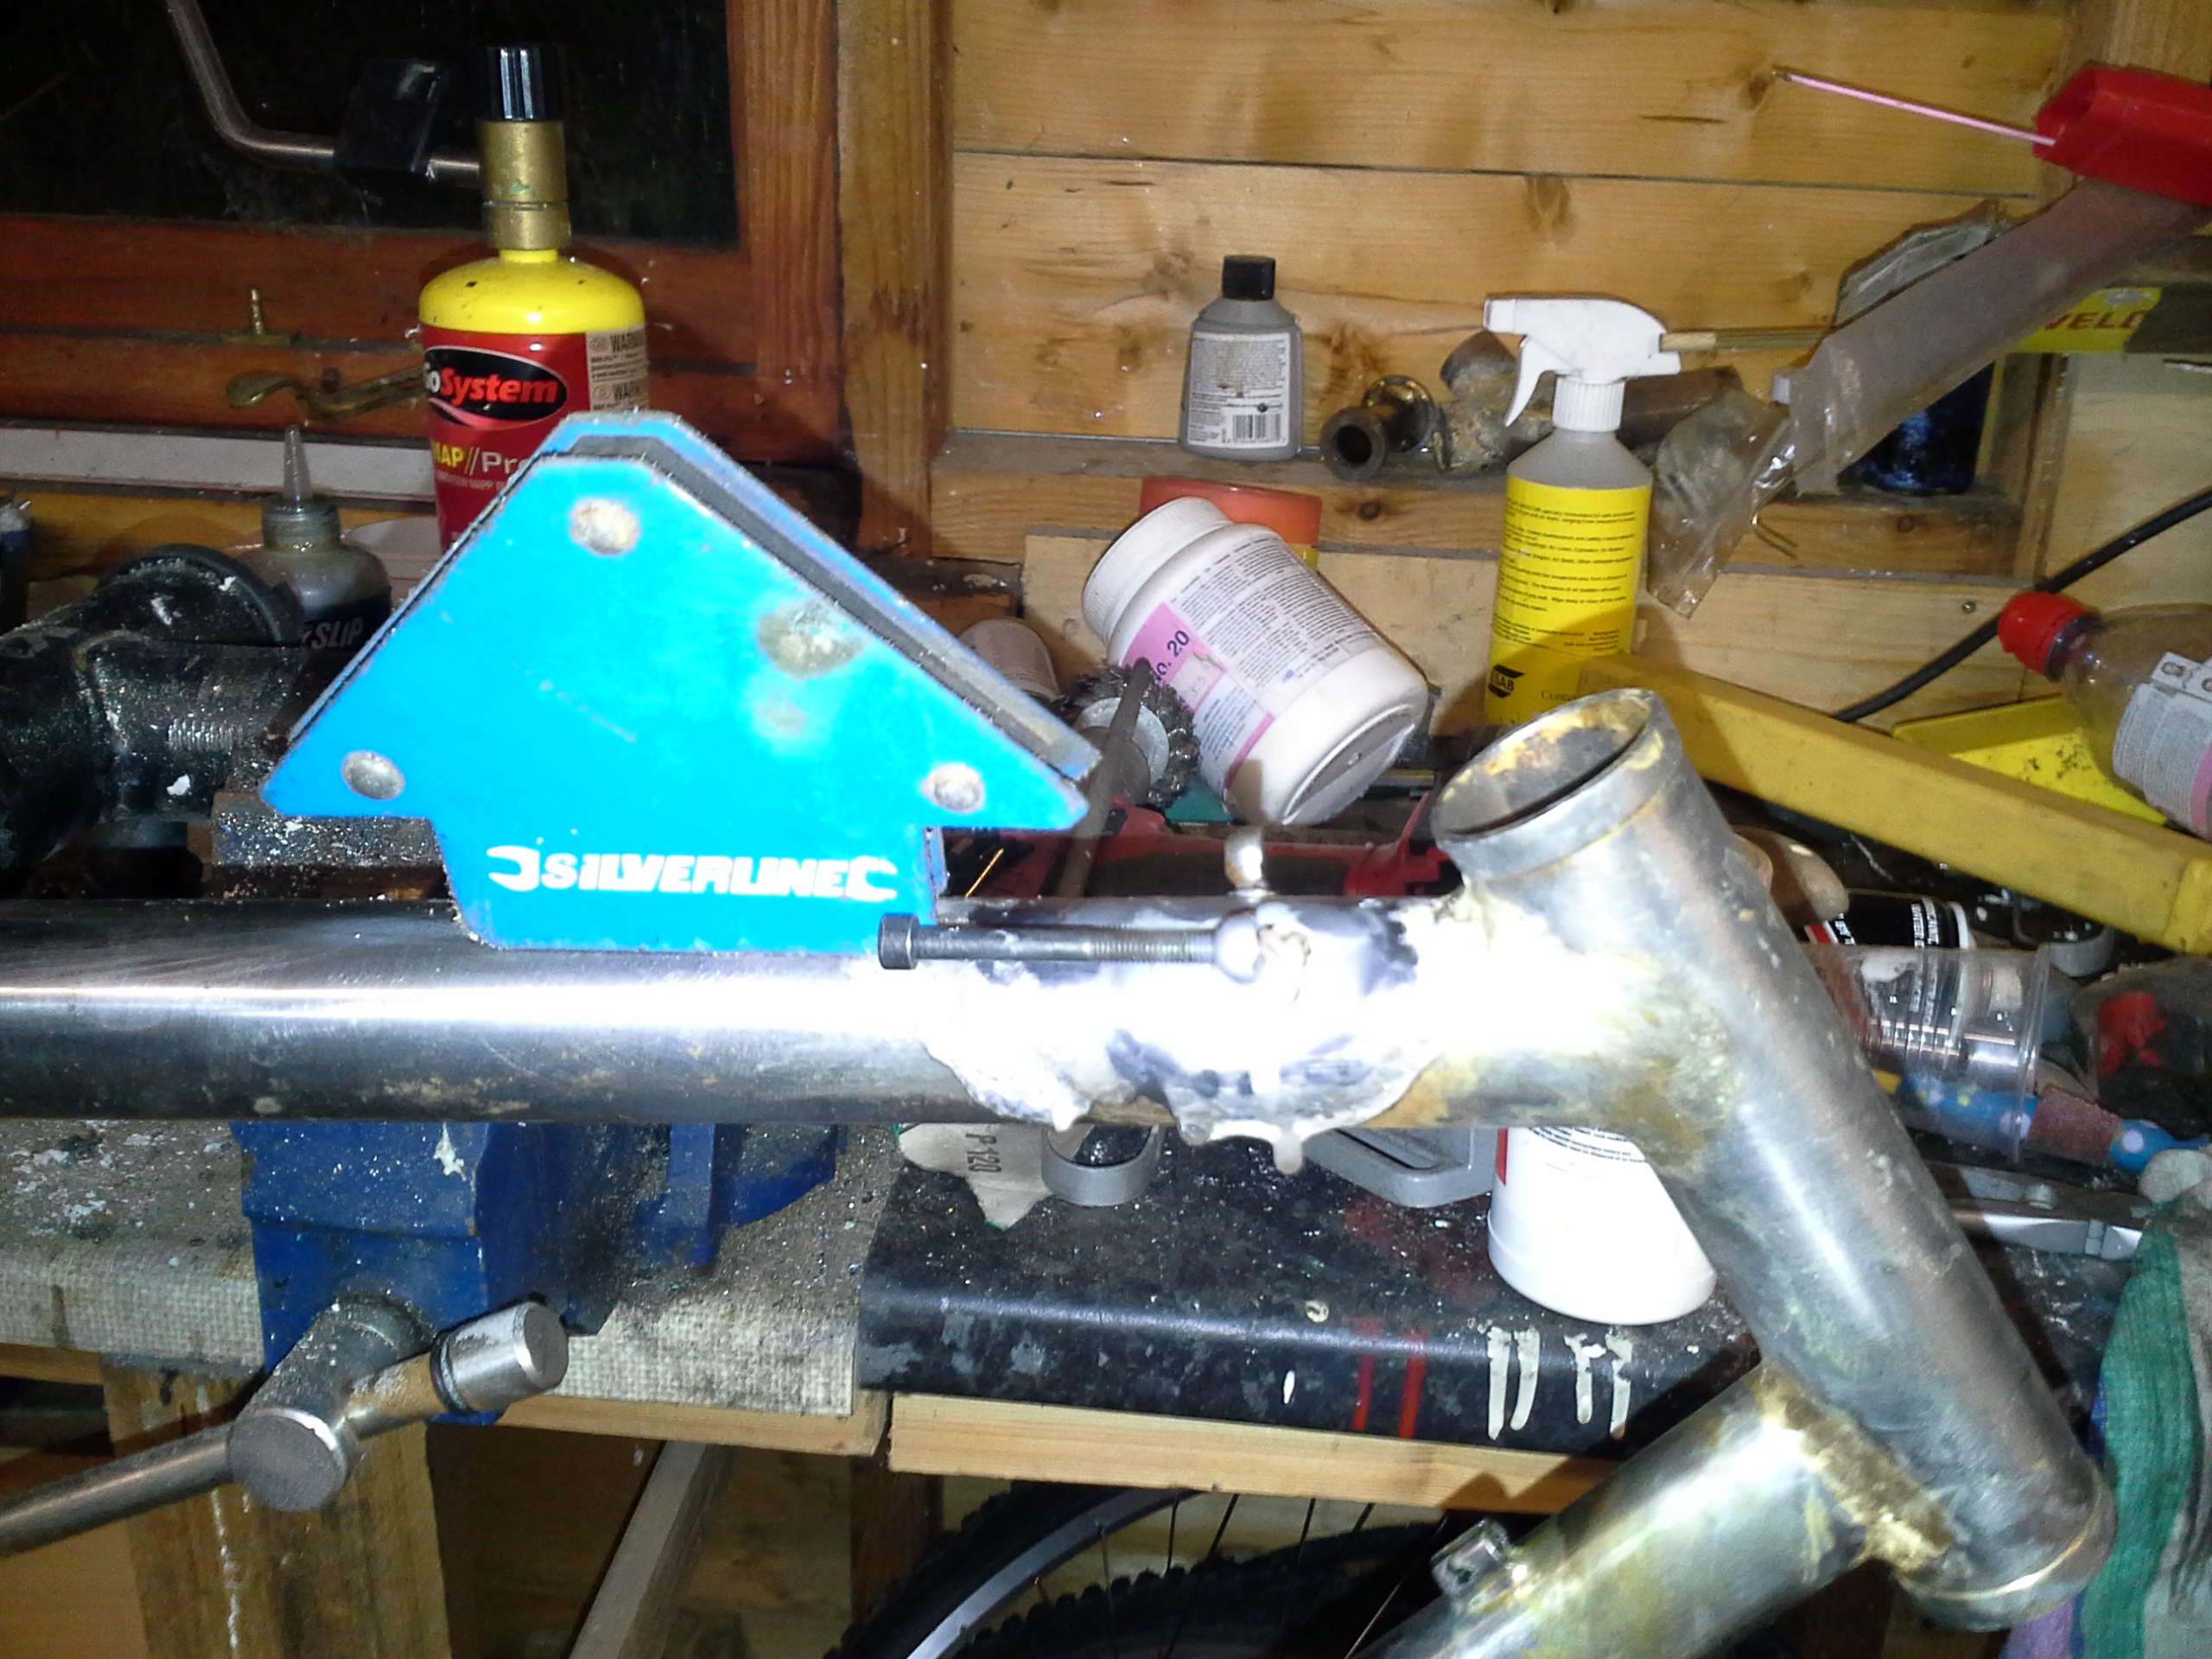
Now on to Braze-on’s. I should have mentioned that is did the bottle braze on earlier as you have to drill the tubes before you assemble otherwise you can fit a drill in easily. So the next braze on are the STI stops. These you can put a long 5m bolt in and then use a welding magnet to hold them straight. Silver solder on these as the butts are short and the tubes are thin.
Cable stops, I use a welding wire clamps to hold them in place and a flat blade screwdriver to make sure they are straight. The bottom bracket cable runs. These you can use a plastic clip on. But I wanted to do some nice guides that we can then use plastic tube to keep the inner cables clean. These i bent to shape and filleted in with brass.

I have also made some tide bottle bosses into mudguard bosses by putting them at the bottom of the seat stay out the way.
Nest is clean up detail, sanding the fillets by hand & reaming, honing and paint prep.

November 27, 2013 at 5:51 pm
Mmmm. Welded BB cable guides. Nice.