So the paint test went well. now it’s time to progress the paint. First thing it to orders the decals required. I design them in photo shop then upload them to a website that prints the decals for you. there are some useful guys like gil@thecycleshed.co.uk who can do that for you if you want. I used sunny stickers .
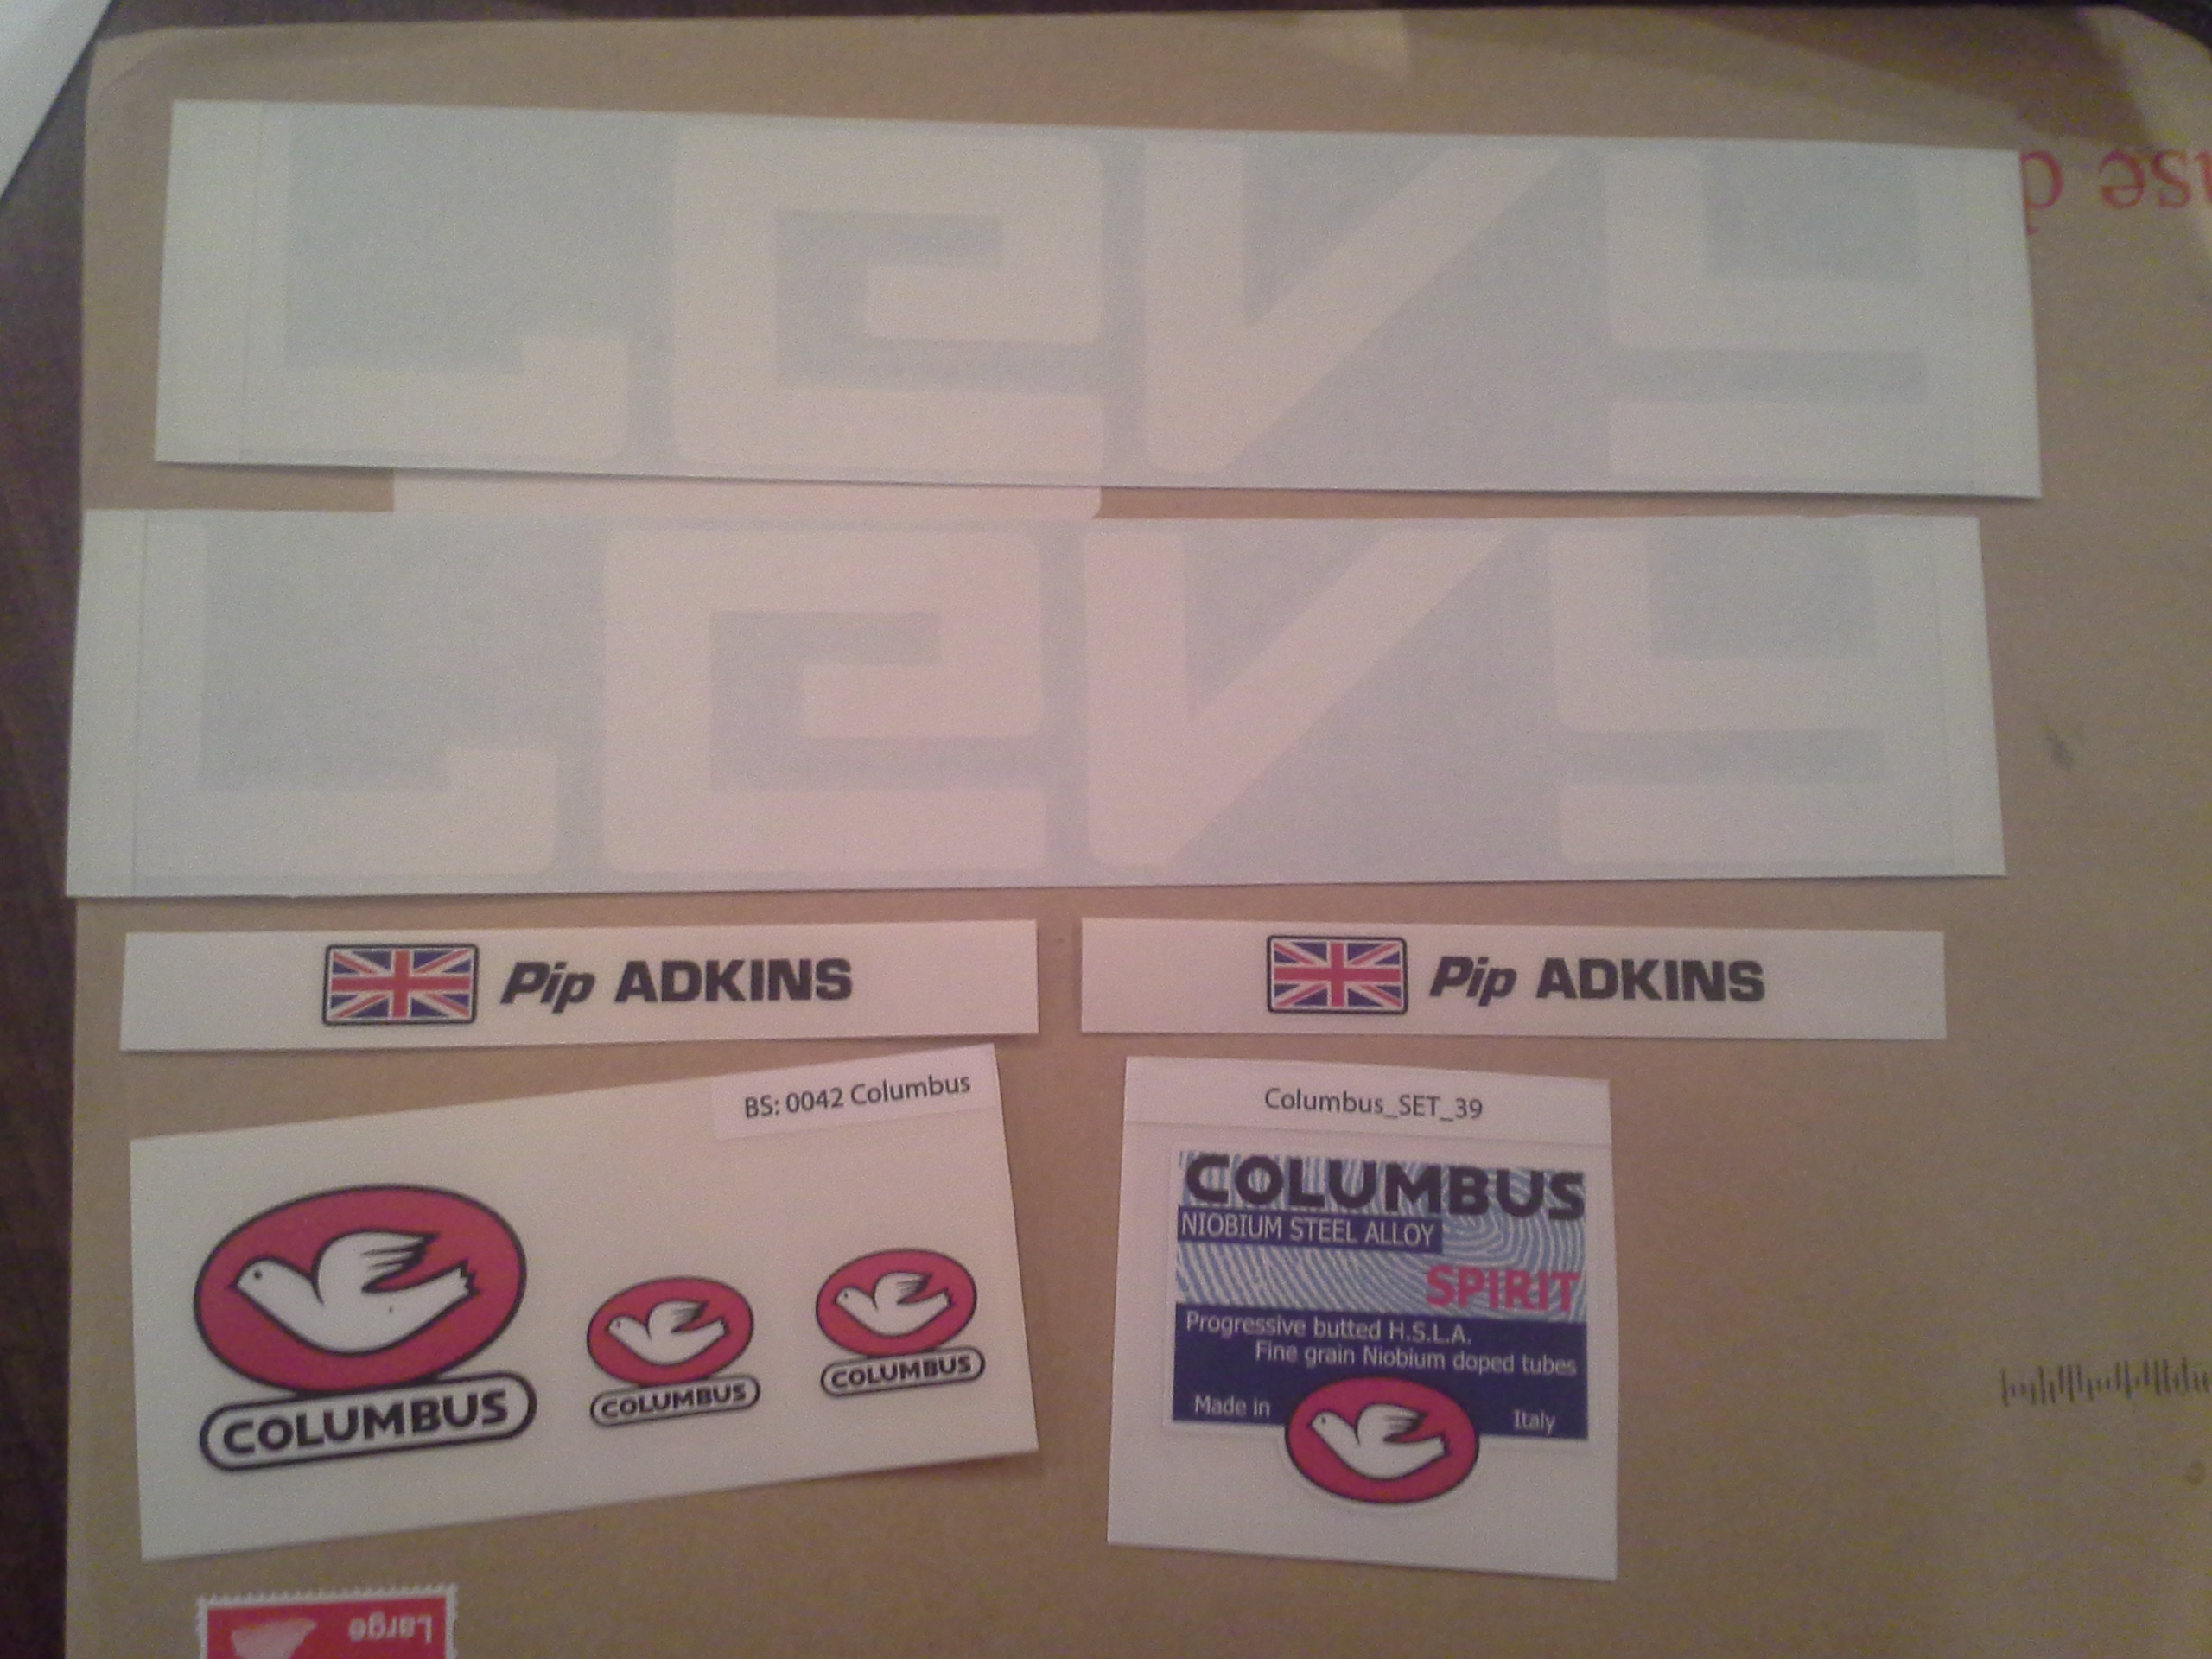
![]() The Headbadge decal is on its way and will be here by the time the paint is dry.
The Headbadge decal is on its way and will be here by the time the paint is dry.
Before you paint make sure you have enough space. indoors is better and you needs to ensure no dust and good temperature of 18-20 degrees c. I am using a 3hp compressor with a water trap and high pressure low volume air gun like you would use for car paint touch ups. Make sure you have solvent ready to clean the gun before you start. Before you put any paint down make sure you have inspected the frame. blank of any threads you don’t want pain on then key it by sanding with a fine paper all over. and wipe it down the solvent (isoprop alcohol with do or paint solvent), i use a seat pin clamped into a park stand to hold it. I am using a 1k primer wetted out with solvent to a skimmed milk consistency, mix thoroughly a load the gun. then it time to paint with long light strokes until the frame is covered. i like to dust it a few time until here is enough paint to make a smooth surface, go to fare and you get a run. Aim at the hard areas first like dropout , bb and seat tube. You should end up with a fine white surface all over. leave to cure in a warm place (airing cupboards are perfect).
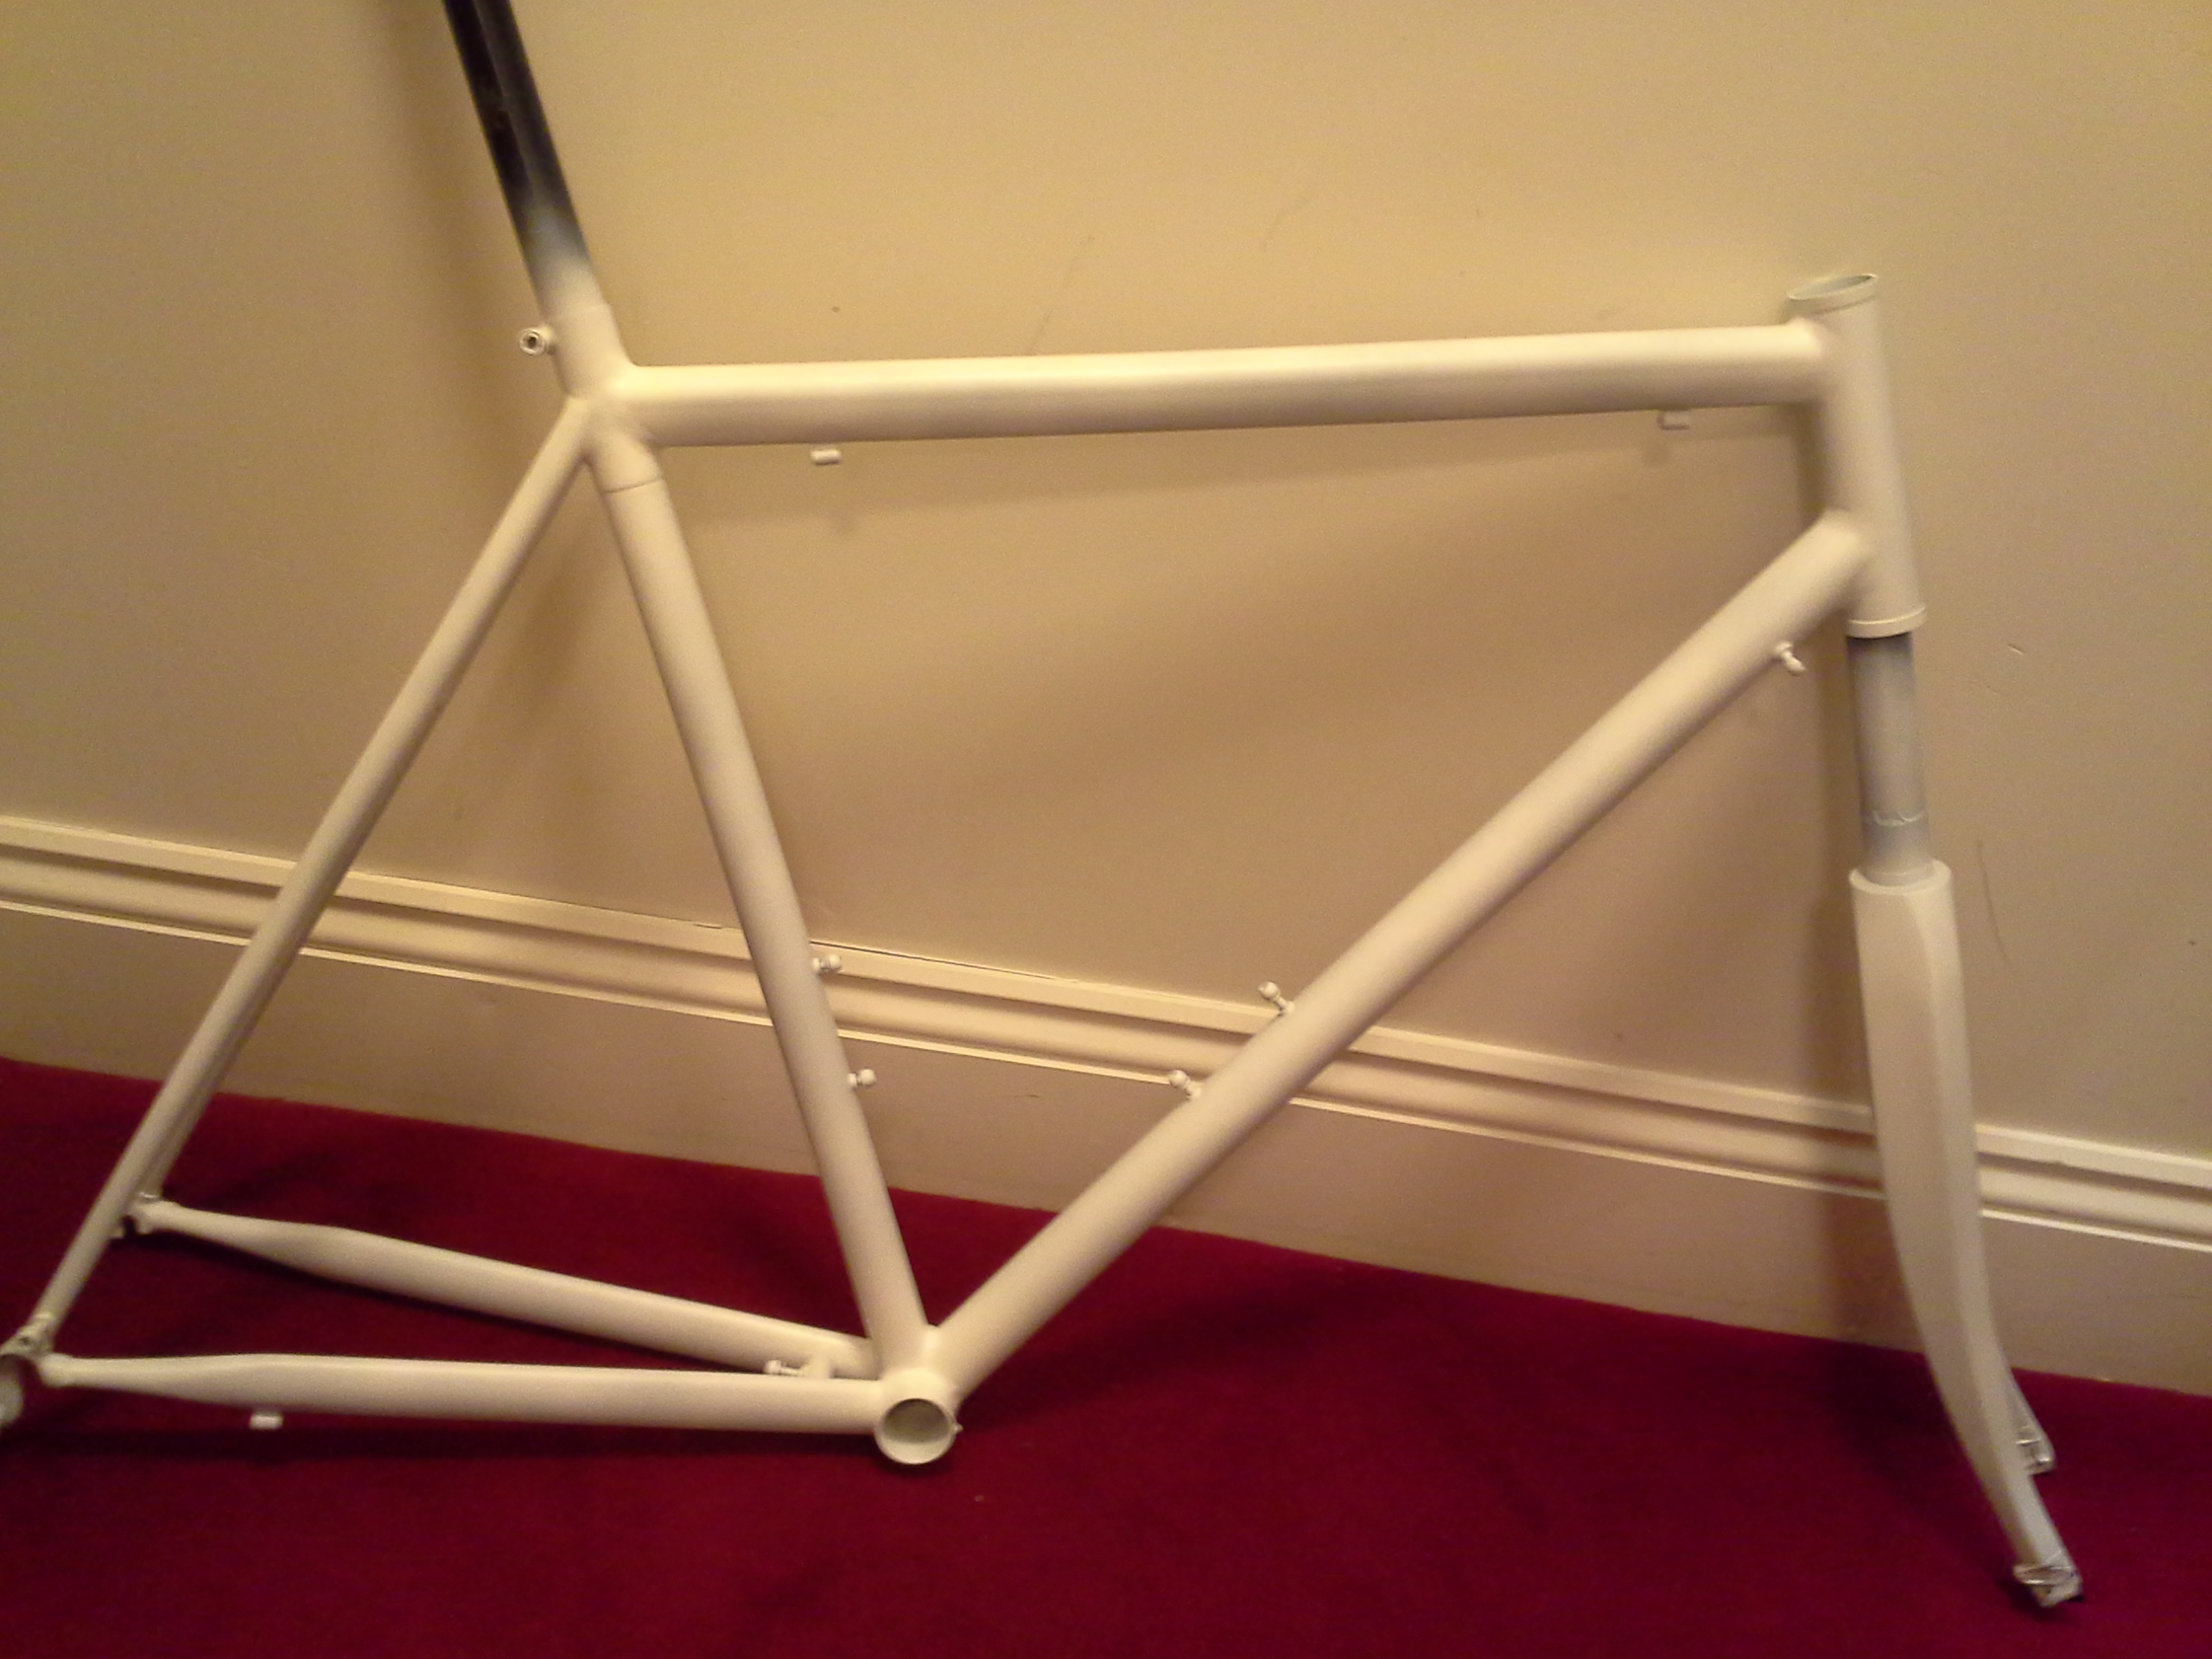 once that’s gone off we can then lay some paint down.

Leave a comment