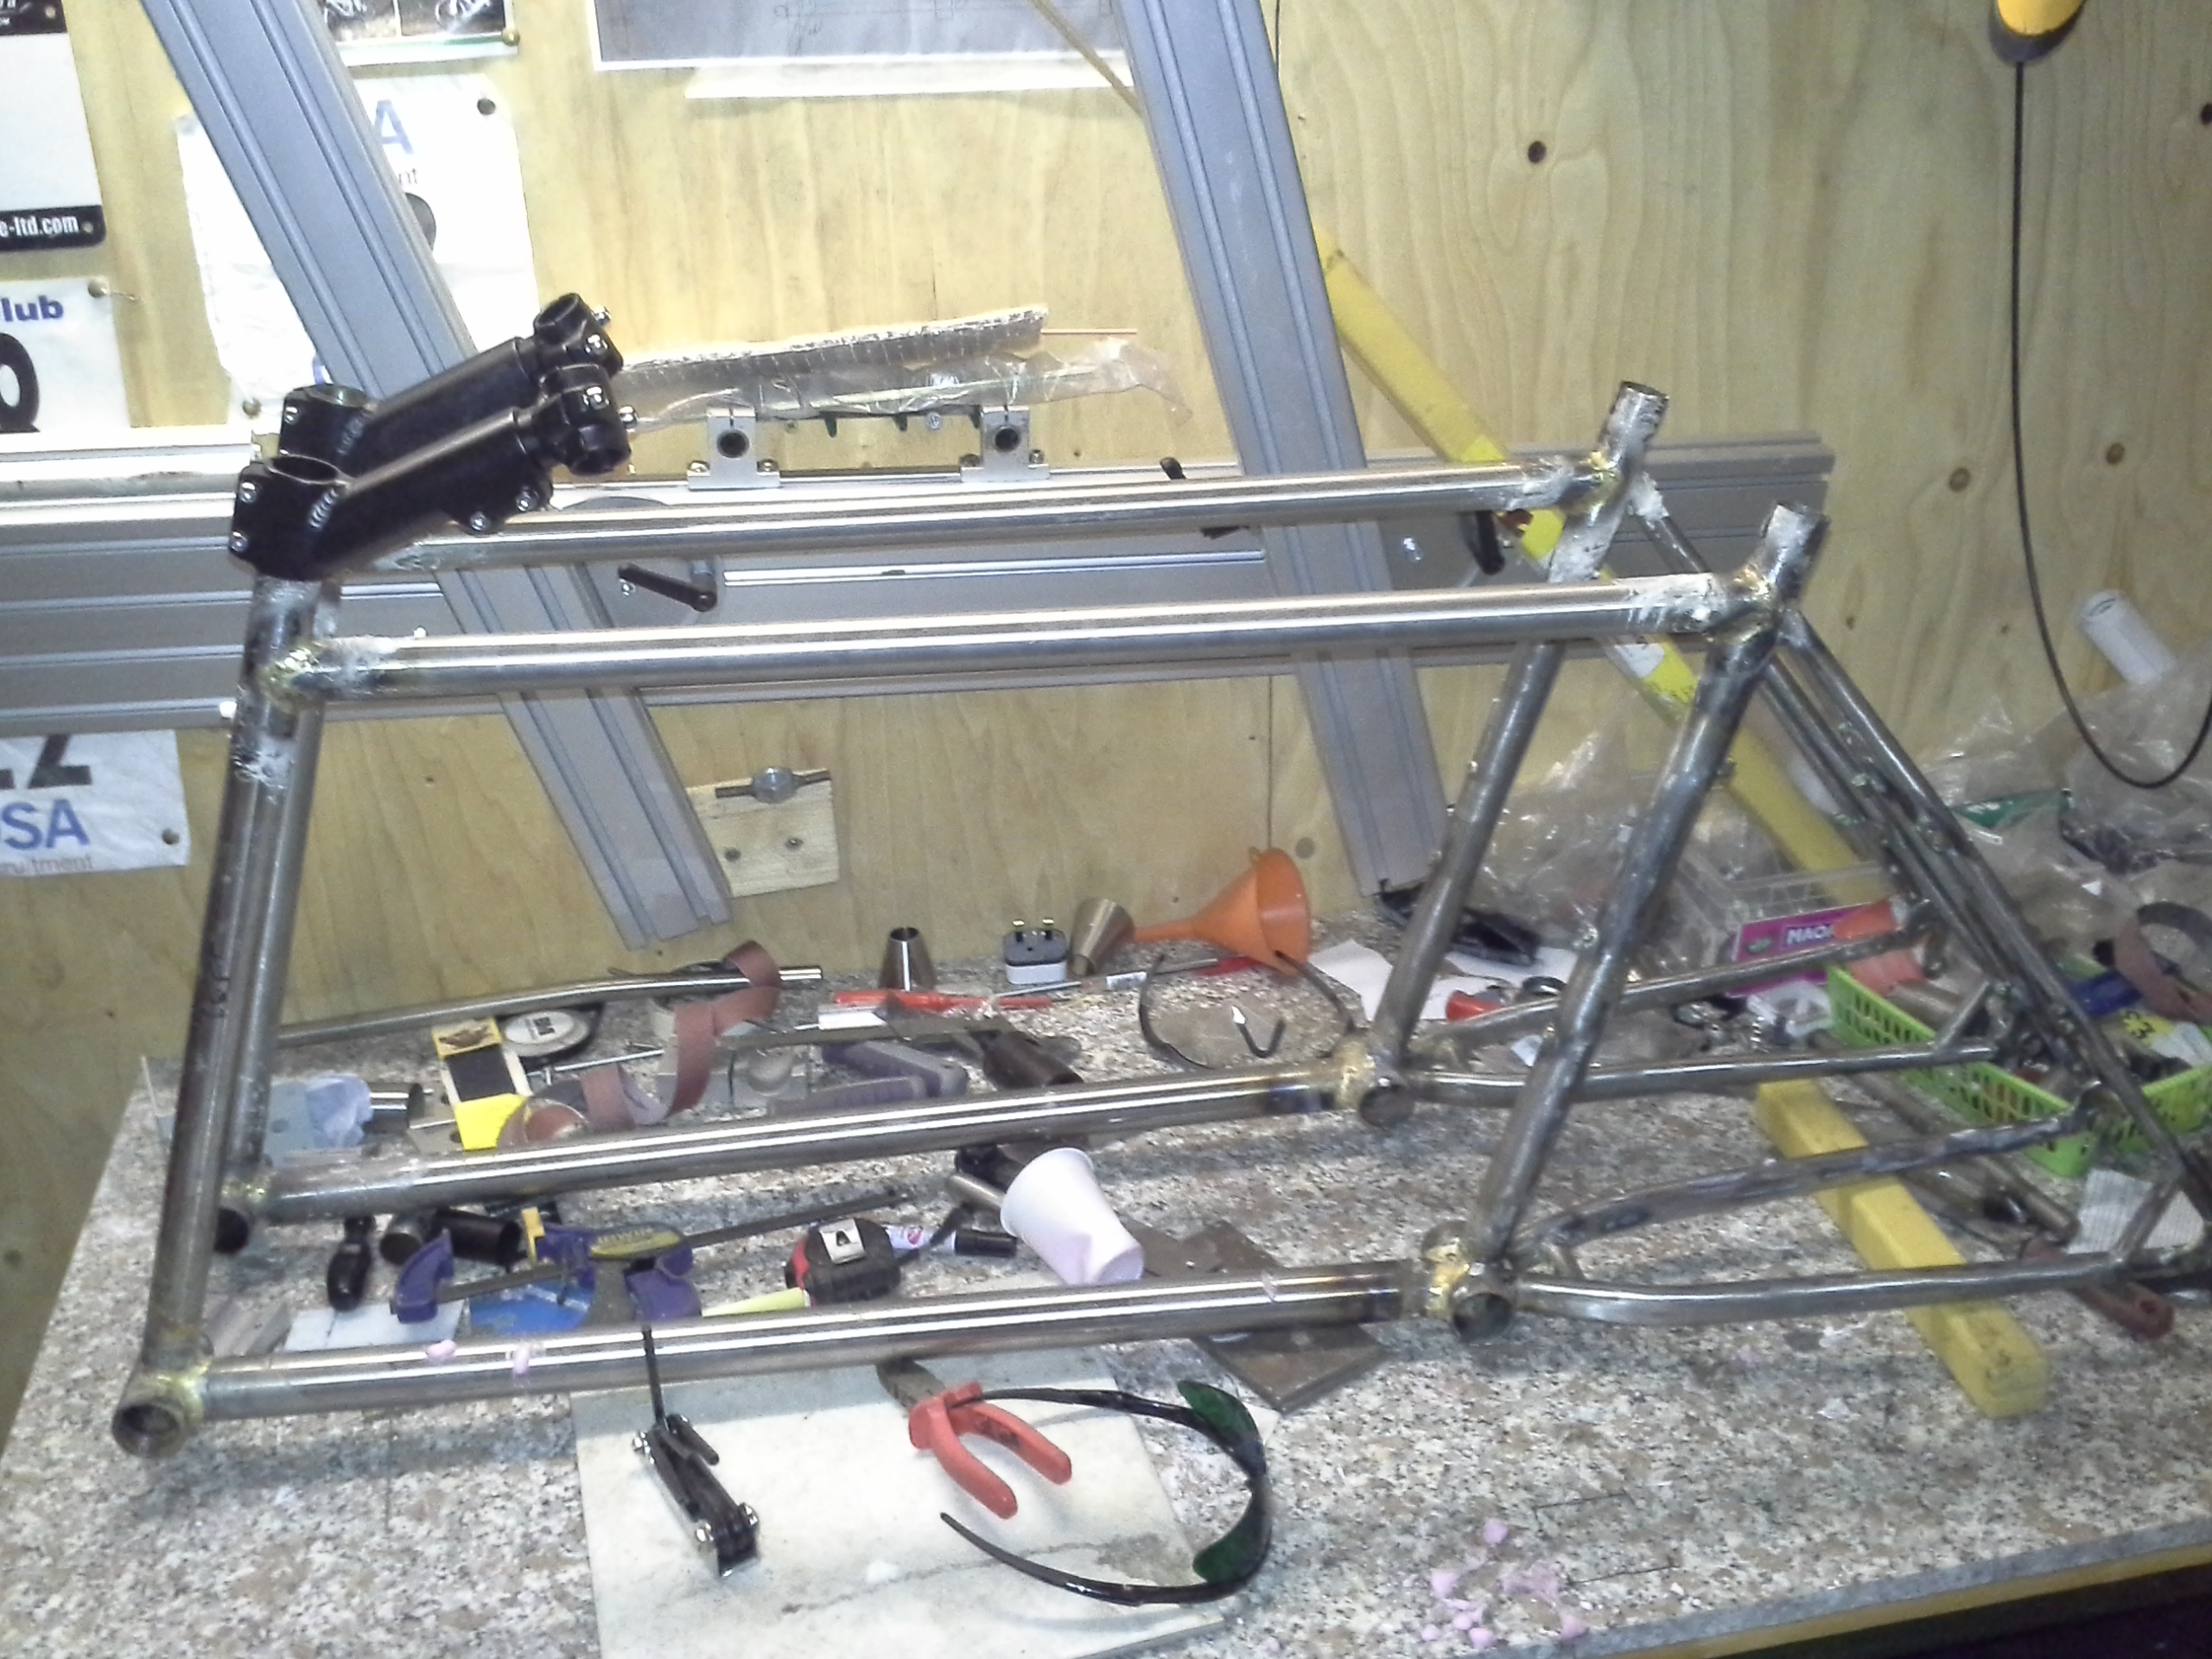
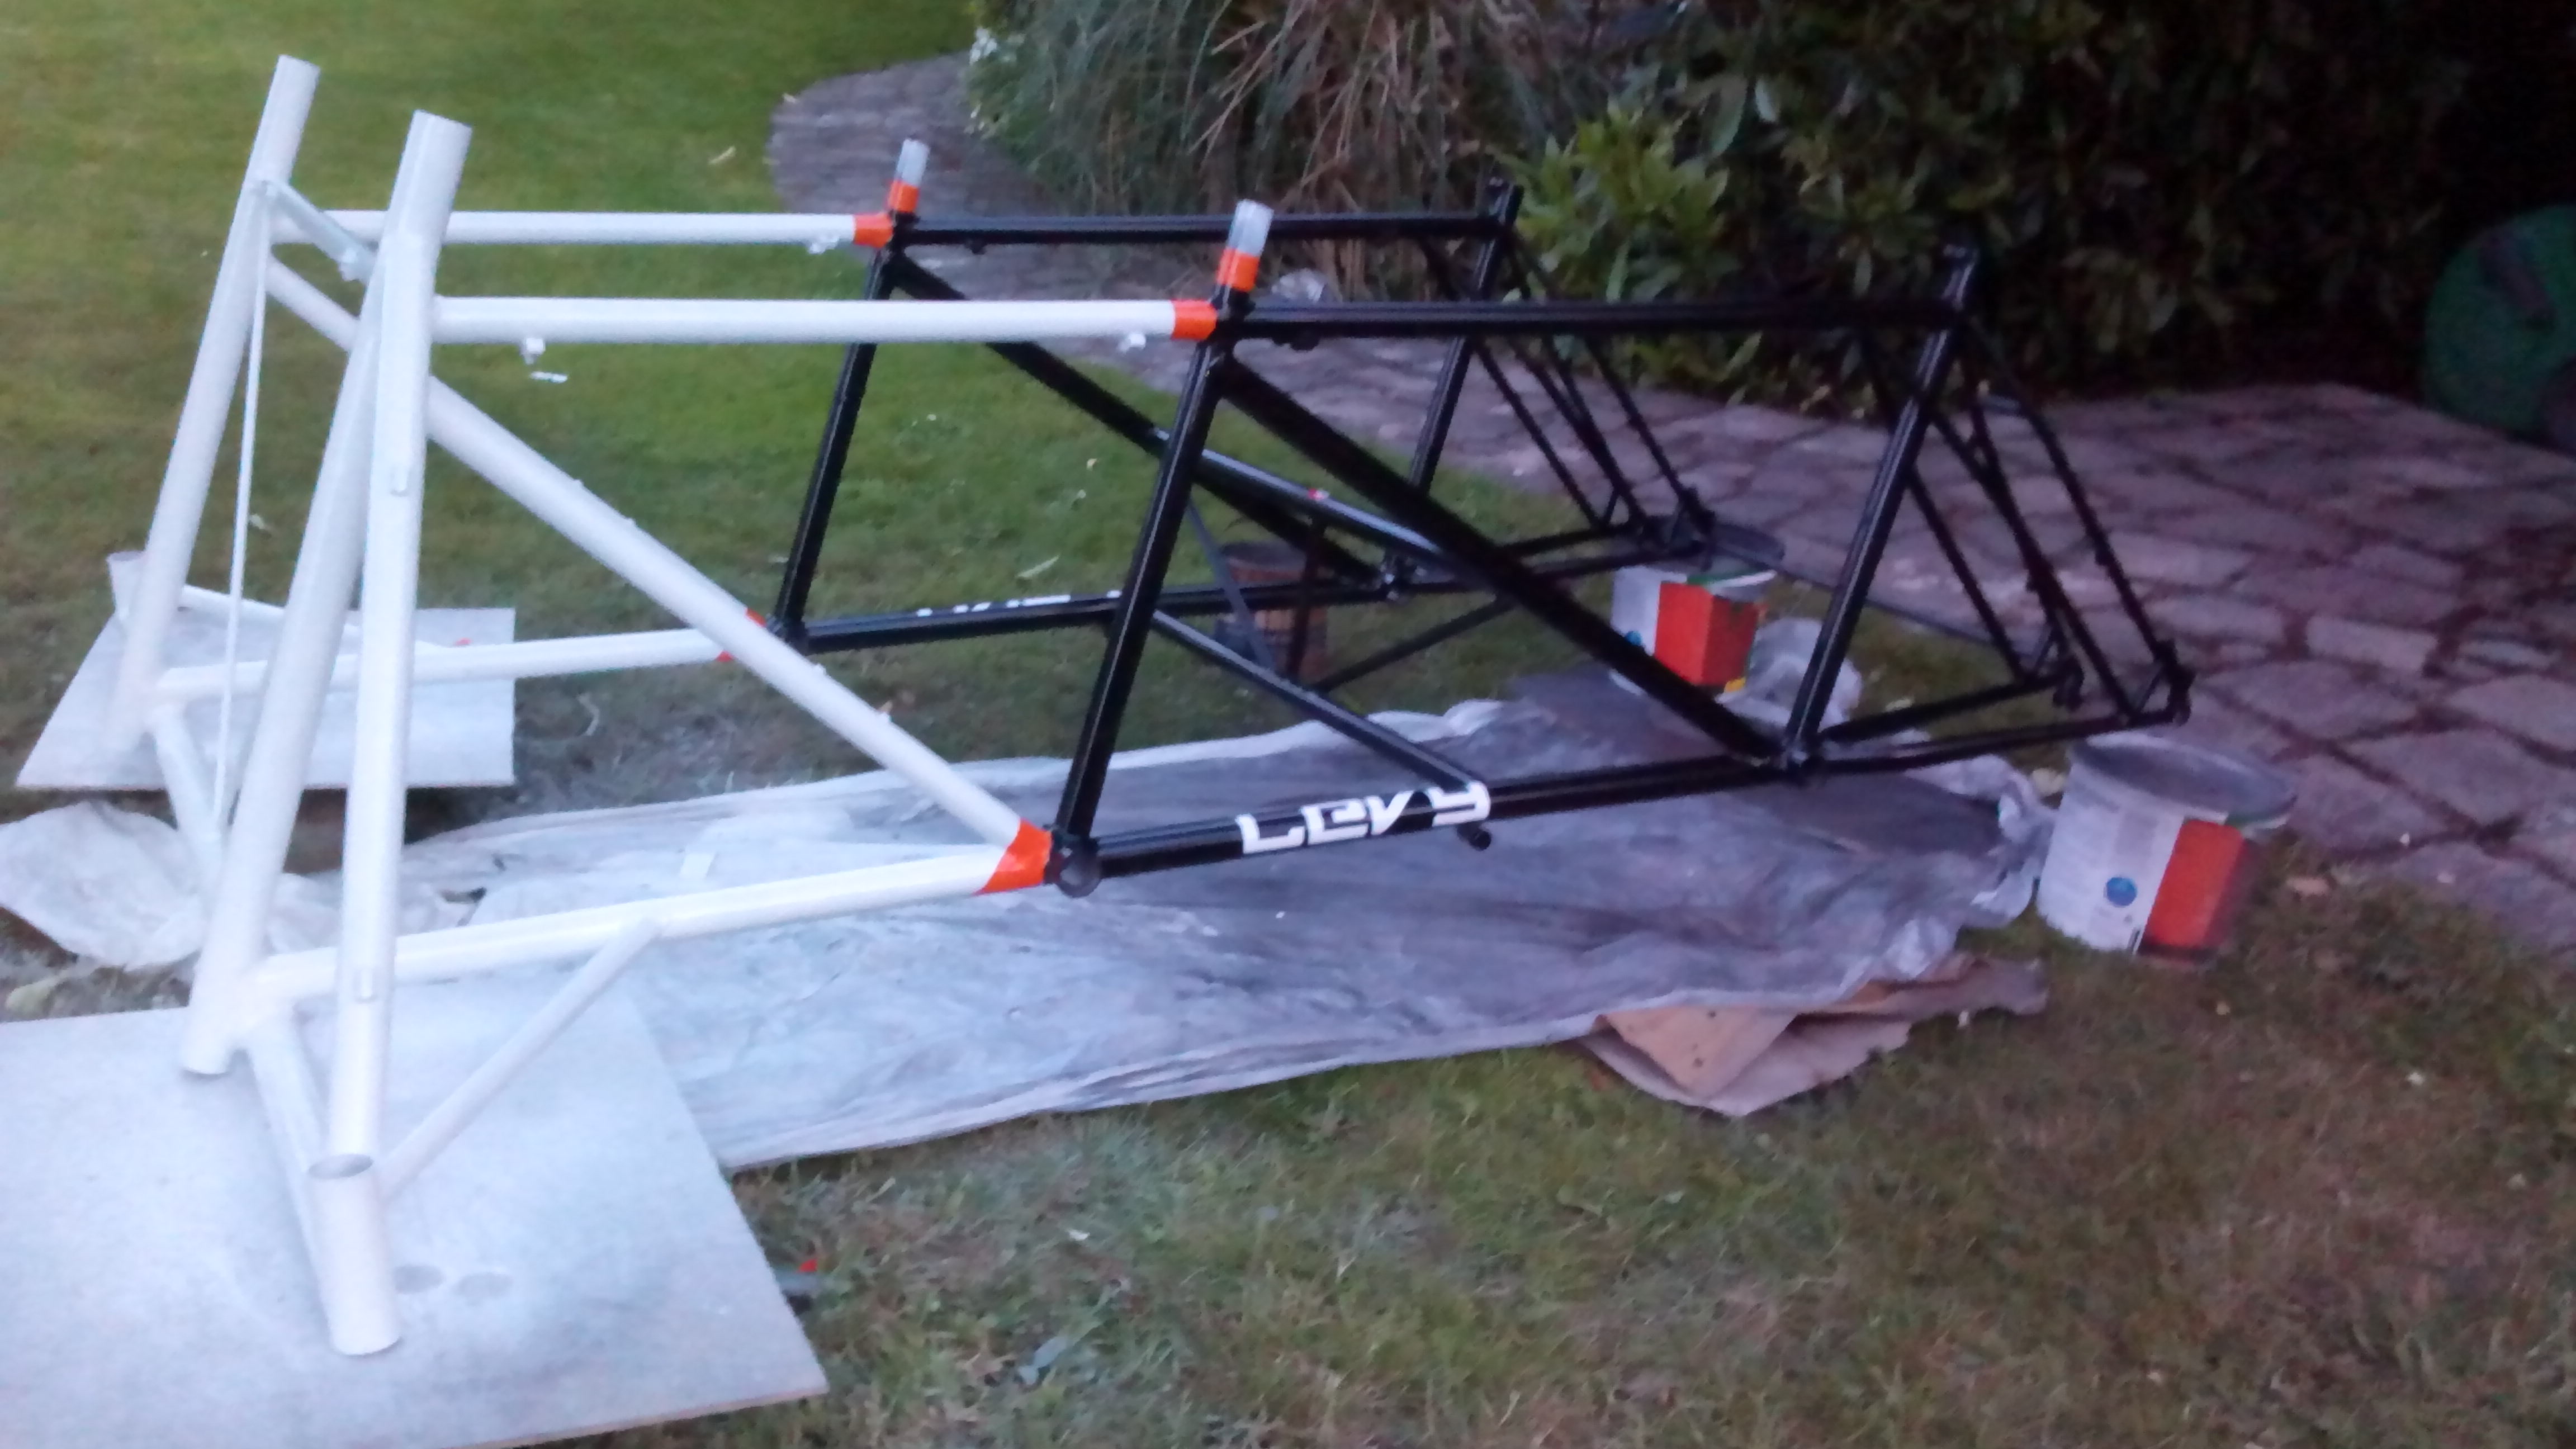
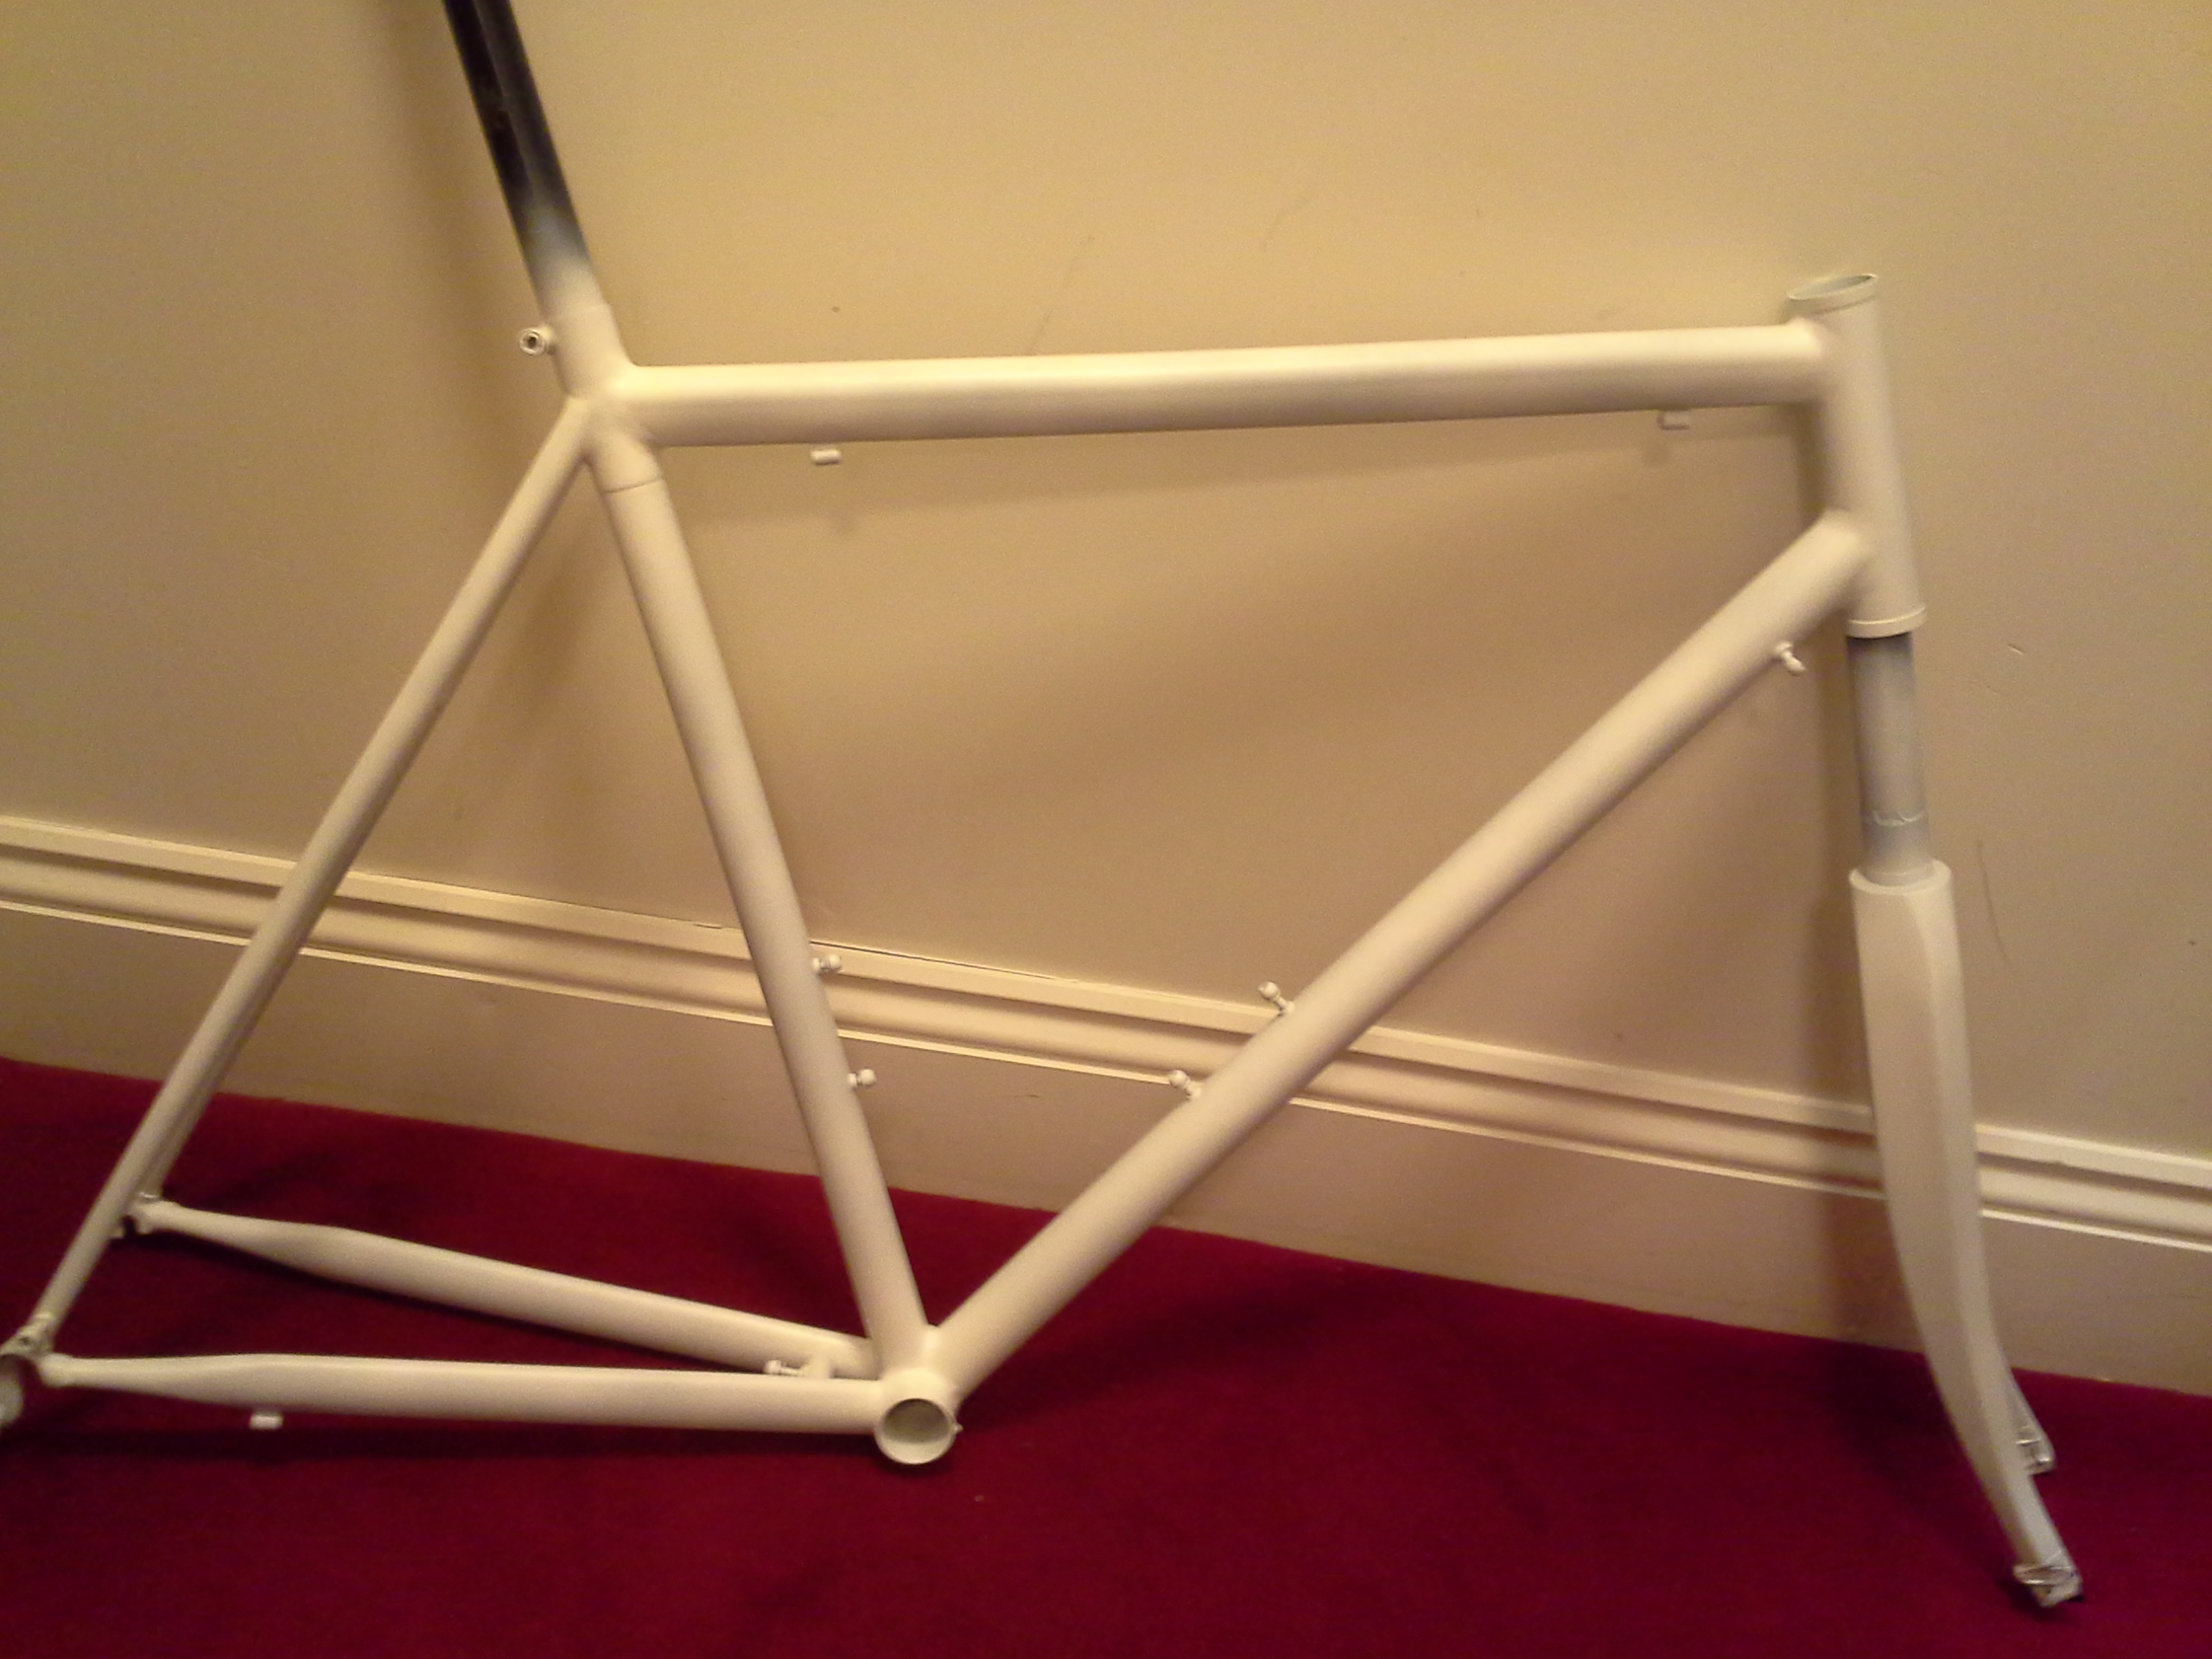
So I have fillet brazed the headtube in making sure i don’t pull the integrated headtube out of place. I also did the bottle mounts at the same time now iIhave a set centre line.
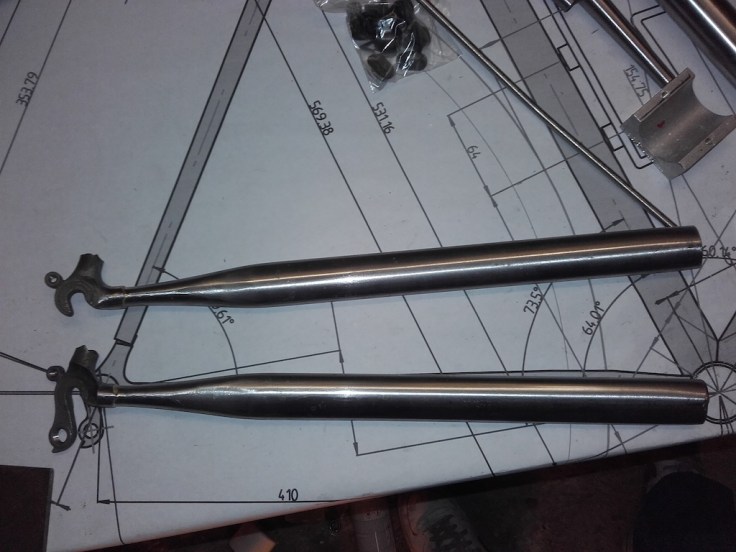
Next brazing the dropouts onto the chain stays. I used a lugged bottom bracket to align the chains stays with an old axle through the drop outs to ensure they are straight. As quick tidy up and they are ready to be cut to length.
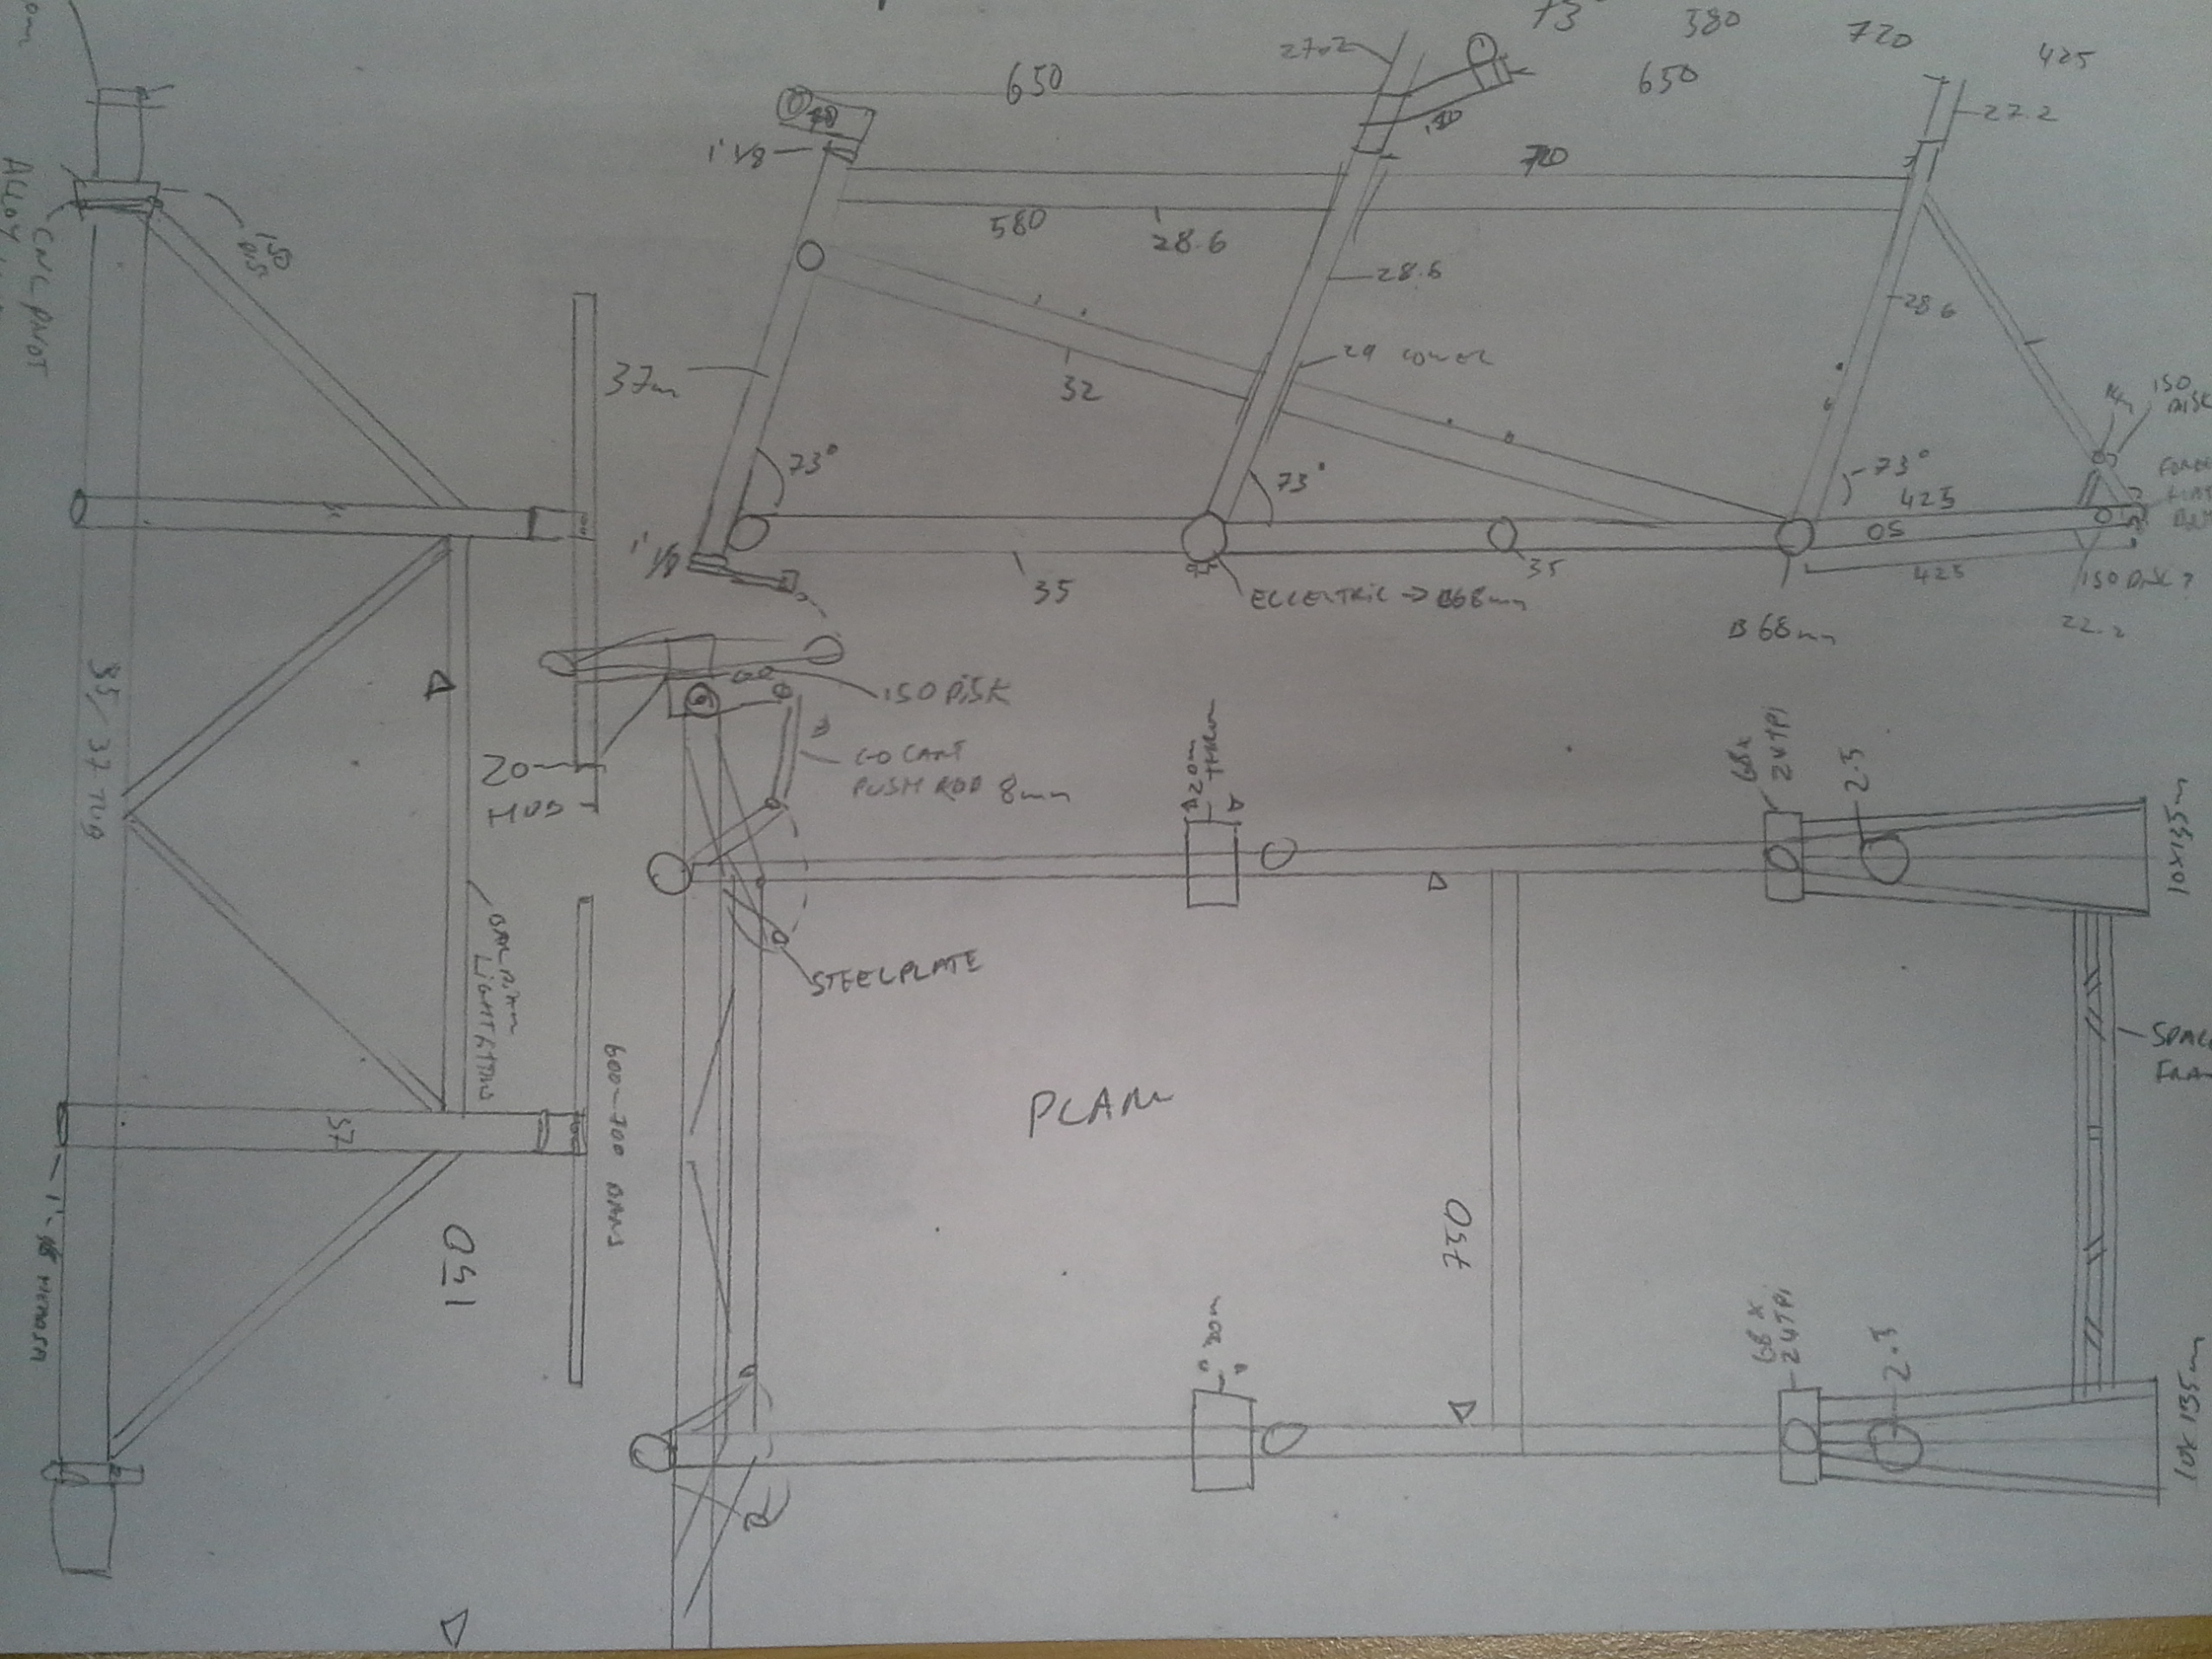
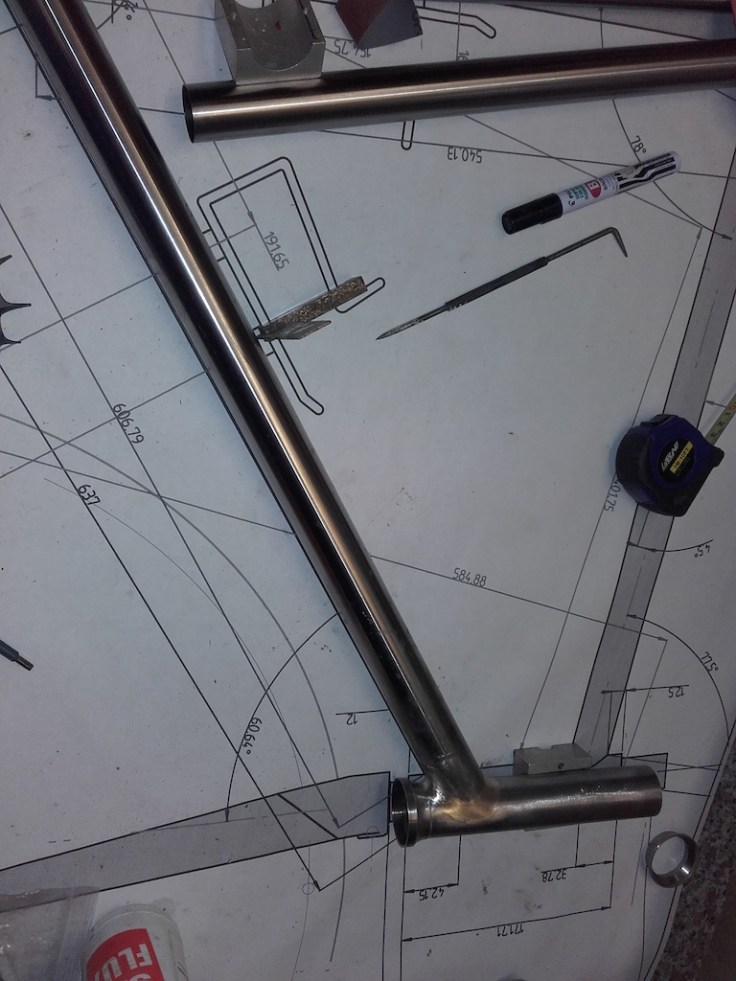
I started mitre in the massive 35mm seat tube on the bottom bracket shell but came across some space issues with the bottom bracket vent holes (pre cut) and where the chains stays go on the other side. One of these you would be fine with both seemed to leave too little area for a good joint. I did a test braze joint and pulled it and it failed. better to waste some tube today than wreck a frame tomorrow. So I think I am going to default on the ISP part and just make a standard seat tube (it will be a lighter frame but maybe the same weight over all. I will take the rest back to the drawing board. Either design it in autocad or paper prototype the mitre.

I have a spare BB shell that works with those chains stays so I will crack on on the next session.